Untangling lace on the bias

I love knitting lace shawls that creates a biased fabric and always wondered how the lace patterns were made.

After a lot of googling, hoping there was some kind of easy trick, I have come to the conclusion that the easy trick is…just messing around with the pattern until you add enough increases/decreases to either end that you’re ready to work a new repeat when it’s time to do so.

I won’t pretend to be an expert on this, so I don’t have any super quick tips. What I will do is describe the process I used, in case that helps you apply the same process to other lace motifs.

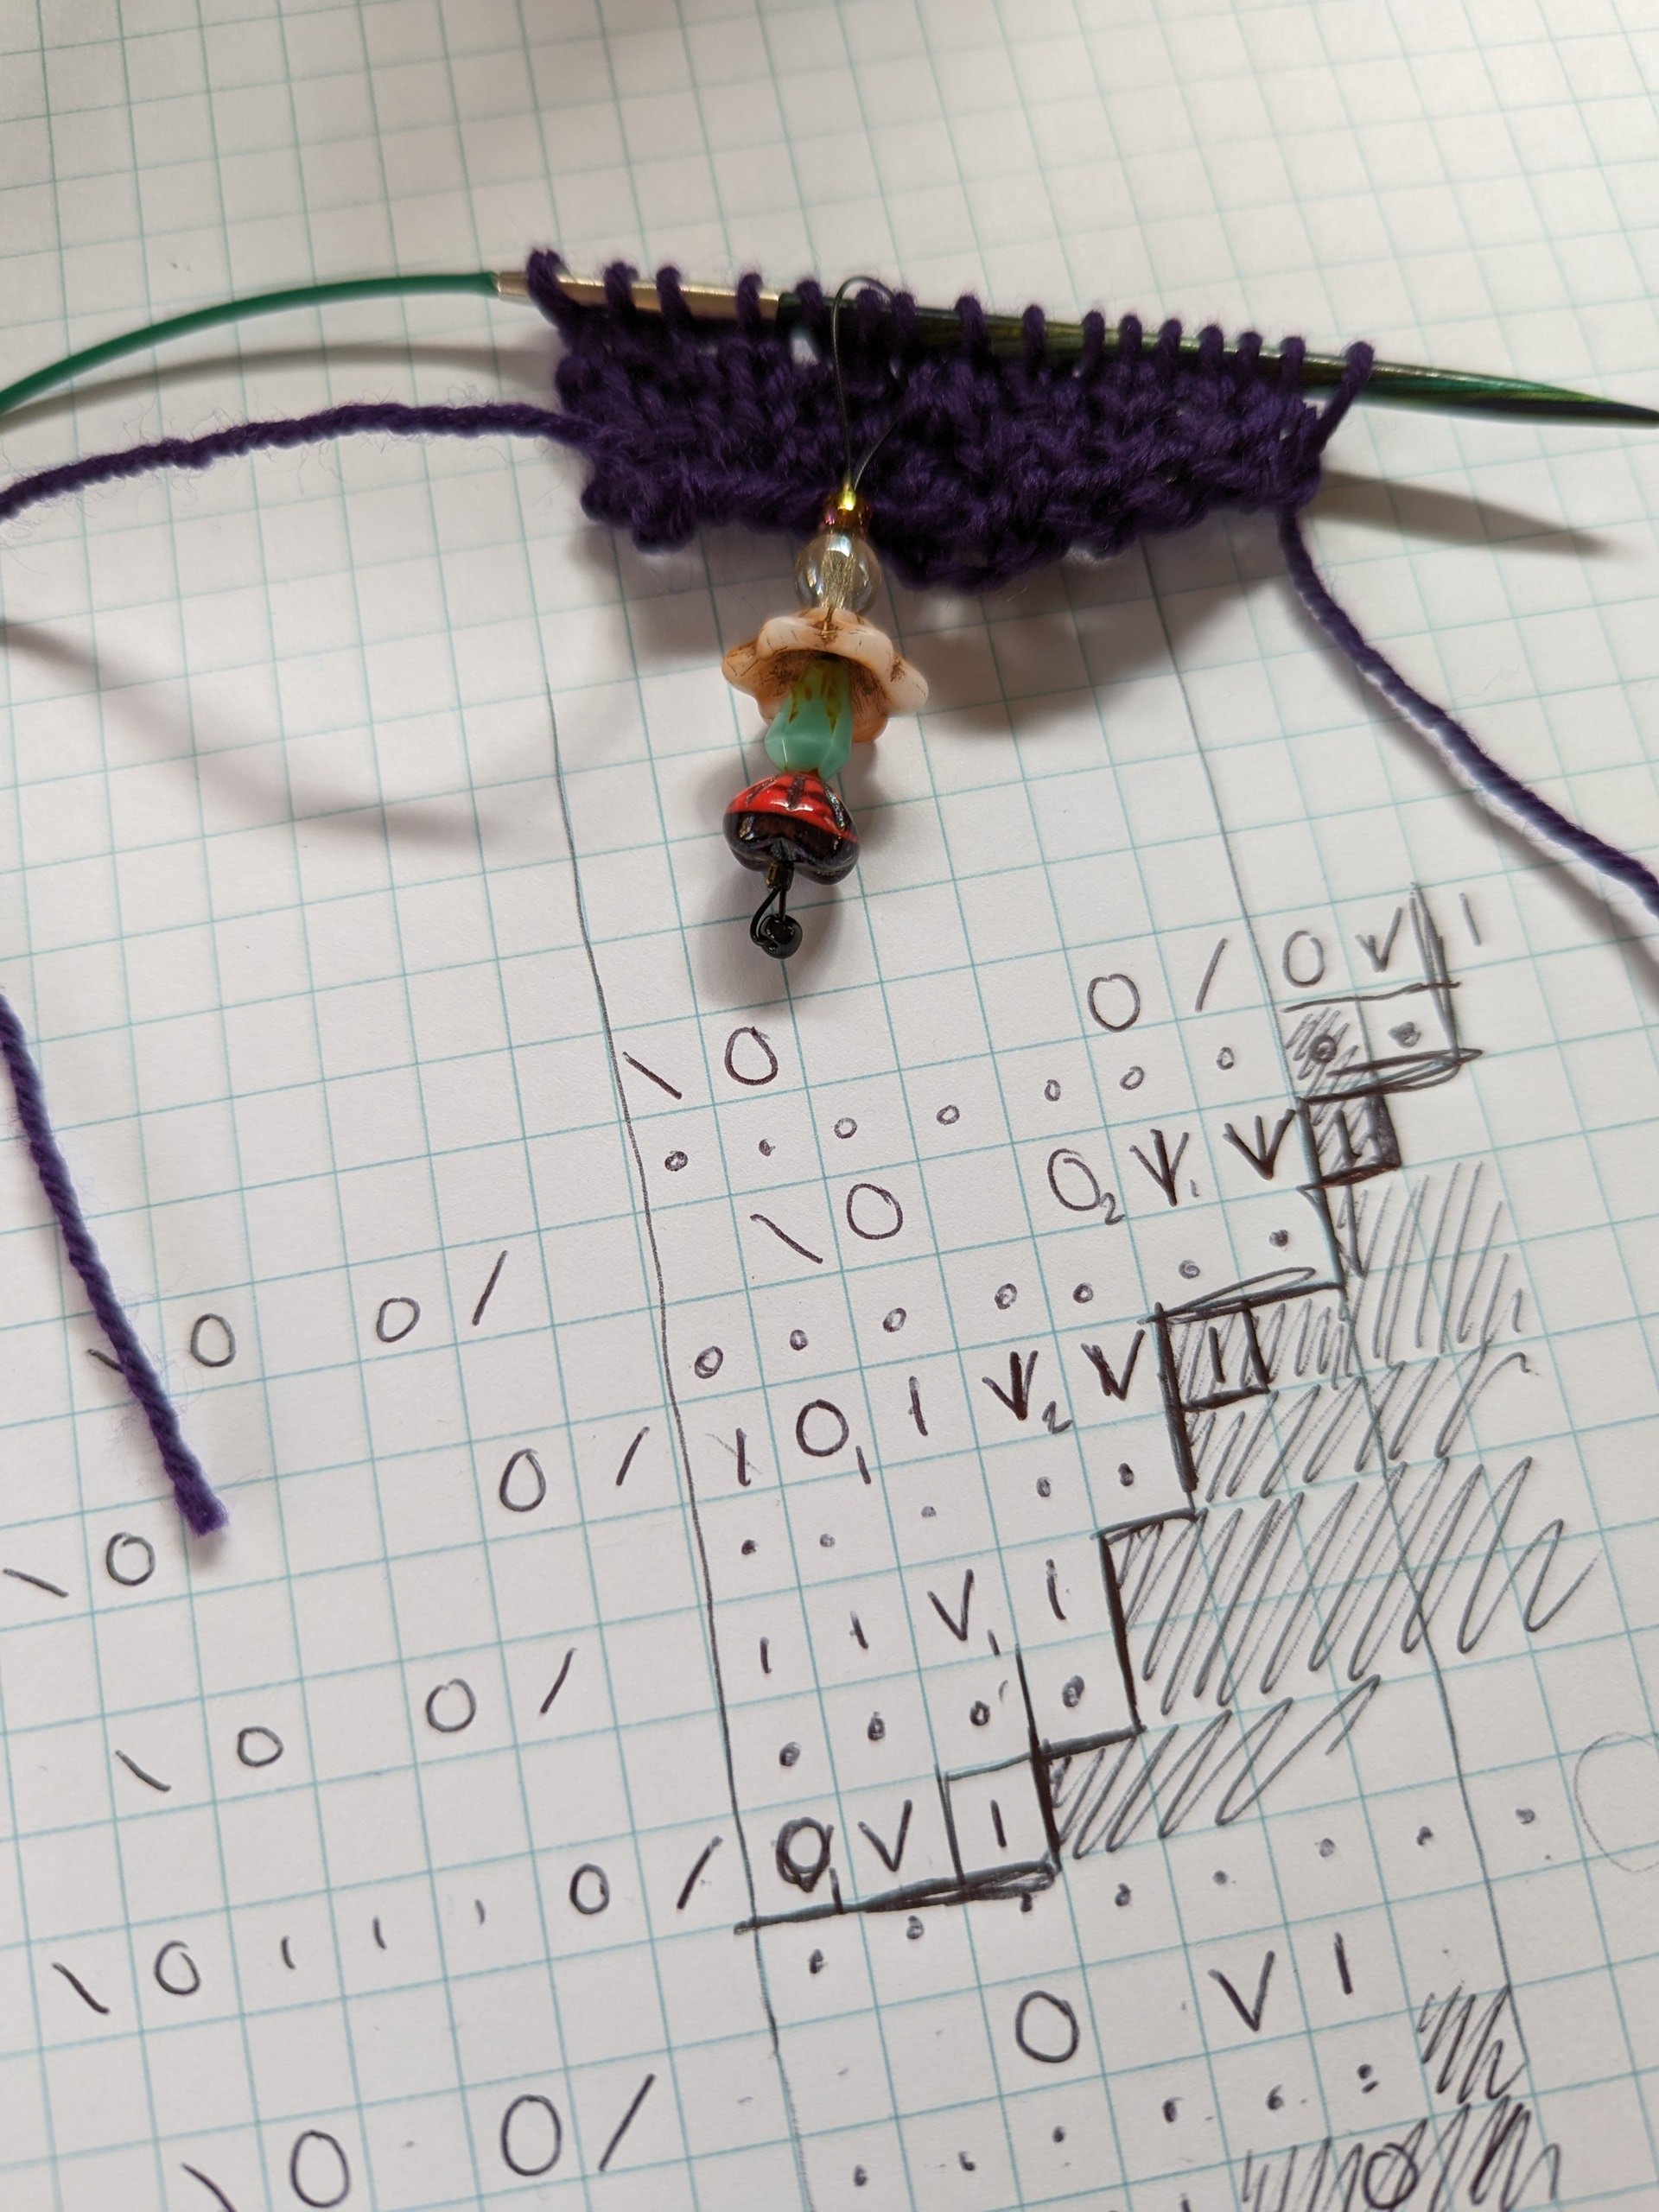
I’m working with a 7-stitch repeat, which I arbitrarily am adding 4 edge stitches to (2 before, 2 after). The repeat is only 4 rows long, so I’m going to work it twice, giving me 8 rows in which to add 7 stitches on the front end (adding 1 repeat), and remove 7 stitches from the back end (removing 1 repeat).

Special knitting graph paper exists, but any will do for this task since we don’t need to have accurate stitch dimensions. I’ve got most of a pad that I think I’ve had since…high school maybe??

I start with the front end first - maintaining the exact same stitch count over the repeat isn’t a huge deal so long as I start and end with the same count, so I’m not worrying out making the increases/decreases match exactly and leaving the back end for later.

Write out the base repeat a few times and decide how many repeats/rows you’ll need to add another repeat. To check my math I’m including purl rows.

In this case, I’m using 8 rows, so 3 RS rows will need to have 2 stitches added, with the 4th adding 1. When possible, I want to start working elements of the repeat into the new stitches, so the increasing section is less obvious. In other words, I don’t want the new section to be pure stockinette until it’s ready to accommodate a full repeat. (This is just personal preference!) Plus, you can use the yarnovers from the lace as increases.

As you can see from the many marks, a lot of this was trial and error. I wrote out several iterations before trying a swatch and made further corrections once I was able to see where stitches were lining up in relation to the increases.

Then, it was time to do the back end. Same deal as before, except this time starting with two full repeats + edge stitches, and gradually removing stitches from the last repeat. From this, I learned I would need to have 3 edge stitches at the end to accommodate decreases. Then, after I had a decent setup for the decreases and had tested it out on my swatch, I realized I had the same problem as before - not enough yarnovers on the decreasing side! So I reworked it yet another time, this time adding in more of the original lace elements and moving decreases as needed.

I’m happy with the results, although knitting the swatch was crucial to double-checking my assumption about stitch counts and placement. Maybe a lace genius would have been able to accurately guess these without swatching, but unfortunately I’m just not at that level! The good news is regular old elbow grease did the trick, and now I feel way more confident in trying this in future patterns!

Even Stevens challenge "halfway" mark

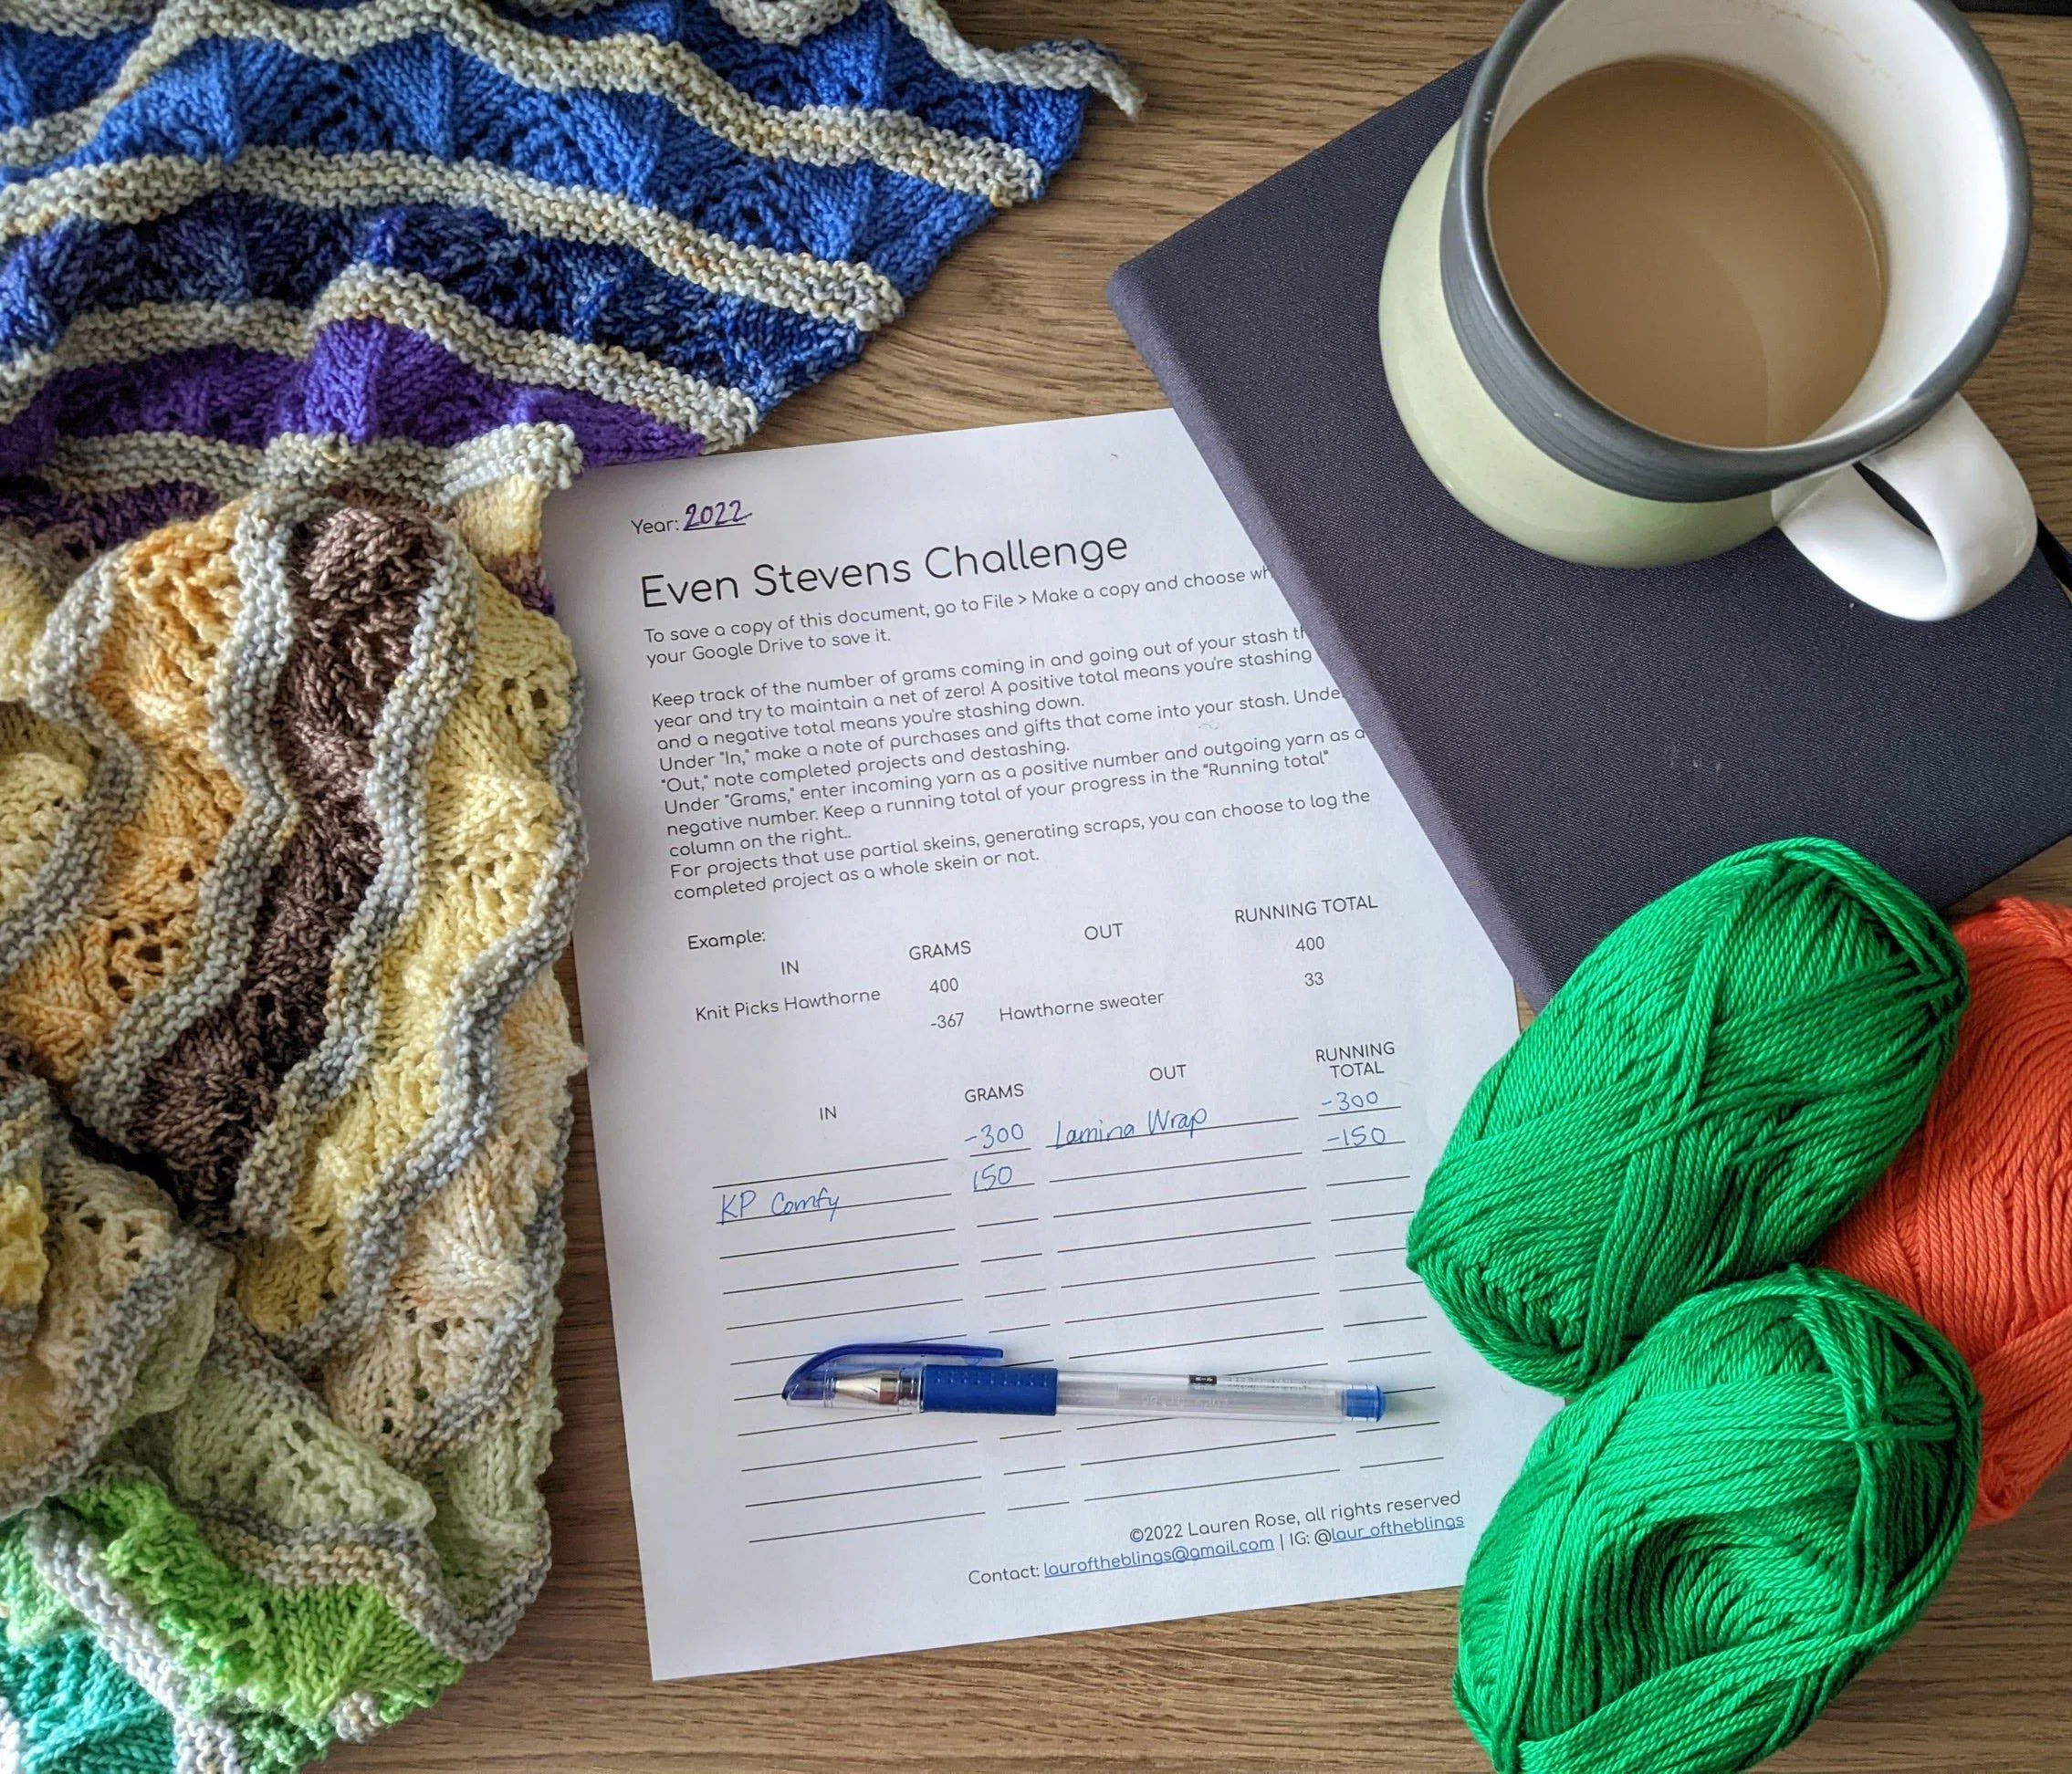
My Even Stevens Challenge printable worksheet on my desk, bracketed by a lacy shawl, 3 balls of yarn, and a cup of coffee.

Would this have been great to post in July? It sure would have! But I’m getting to it now and that’s just as good.

Plus, it kind of works out in my favor because I happened to do a bit of destashing in September and October, so now I can include that in my overall totals and everything looks VERY nice. (Of course, the stash deficit will be obliterated once all the various holiday and countdown yarn packages start arriving…just let me enjoy this for now!) Missing a few calculations, I’m currently at a deficit of about 1600 grams.

Just to reiterate - the goal of this challenge was to at least break even at the end of the year. So even though I’m celebrating stashing down, if I had at least maintained at the same level, that would be great too! (That said, since I anticipate some incoming yarn at the end of the year, I’m only in a deficit at the moment and may not stay that way!)

Perhaps one of the biggest lessons learned so far is just being aware of my knitting output so I can slow down on input! Especially now that I’ve got a better sense of what kind of things I like to knit and wear I’m less likely to buy a bunch of random weights/amounts of yarn, but I still fall prey to the sock yarn clause. That works great when I’m knitting a lot of socks (and other fingering-weight items), but less so when I’m in a no-knitting funk!

I’m really pleased with my progress so far and I look forward to concluding the 2022 report at the end of December! If you’ve been participating in the challenge, let me know how it’s going in comments.

If you have no idea what I’m talking about, here’s a link to the original post. It’s never too late to get hype about spreadsheets and data tracking!

How to get more slack in cables

I got this pro-tip during a sock competition years ago (can’t remember if it was Sock Madness or Tour de Sock) and figured now was a good time to share it with you, since I’m about to release a Very Cabled sock pattern!

I use this technique for cables that involves 4 or more stitches.

The technique is: add a yarnover in the middle of the cable stitches on the round/row BEFORE you work the cable. Then, when it’s time to work the cable, drop the YO and let the slack be distributed across the cable stitches, making them easier to work.

This is an approximate science, so putting the YO close to the center for cables with an uneven number of stitches works fine. For really massive cables (I once knit a cowl with a 6/6 cross) I might add two yarnovers!

One thing to note - adding slack like this makes the cable stitches easier to knit into, but doesn’t make the finished fabric that much looser. So still plan to size up however you normally do to ensure the FO fits.

I made a video demonstrating this method, which you can check out here:

How I knit my toes on toe-up socks

I’ve been working on a bunch of toe-up sock designs lately and since I often get questions about the placement of the increases, I figured I should create a comprehensive answer I can share.

The toe begins with either Judy’s Magic Cast-on or the Turkish Cast-on - something to get an even number of stitches across 2 needles. You could go right into increases here, but I usually knit one round just to establish a base round.

Then, I increase 4 stitches every round (2 on the instep, 2 on the sole) until about 1/3 of the total stitch count is reached. After that, it switches to 4 stitches every other round until the total stitch count is reached.

The placement of the increases is what catches people’s eye. I like to do:

K1, KFB, K to last 3 sts, KFB, K2.

The placement of the KFB isn’t symmetrical, but that is intentional. I want the “purl-bump” second stitch created by the KFB to be symmetrical across the stitches. By placing the KFBs as above, it looks like there are 2 sts on either side of the purl-bump.

Is this a huge deal? Absolutely not. It literally only stands out to me while knitting the sock - once it’s done you can barely tell. But - since I spend so much of the time knitting my projects in addition to wearing them, I do this to make the knitting part feel as satisfying as the wearing part. If you’d rather the KFB itself be symmetrical, moving it over one stitch will not affect your finished sock AT ALL so please feel free to do so!

This stupid sweater!!

For two years now I have told myself I will publish my first sweater pattern, and it will be a Sizing With Spreadsheets pattern.

Three striped sweaters in varying colors

Since then…I have knit not one, not two, but THREE samples. All of them have made improvements upon the previous versions, but the design isn’t yet where I want it to be, especially if I intend to have test knitters try it out! It’s annoying enough that I will have to eventually bite the bullet and frog these sweaters if I want to reclaim the yarn; I would never do that to testers.

Despite the many frustrations, I still love the concept for this design and think I can make it work. The issues are twofold - first, raglans can be tricky to fit in general. Second, the stripe sequence makes neck shaping impossible, so I’ve deepened the neck to the point where I can’t just use average raglan lengths, I need the raglan length - X.

After 3 attempts, I have yet another calculation to try, if I can get over my apprehension about knitting another dud. I’ve already promised myself that this time I will STOP at the end of the raglan and try it on a bunch before even THINKING about splitting the sleeves. Now that I’m thinking about it, it would probably be good to block it on the needles, especially since the yarn I’m using (Felici) drapes nicely after blocking when knit at this gauge.

A less crucial issue, but still one I’ve been noodling on, is the number of yarns I should use for the helical stripes. The prototype of this sweater used 4, and the self-striping was broken up enough that the sleeves don’t look like big stripes of colors.

The first sample of my design was done with 6 yarns, which is technically possible but not really advisable. I feel faint when I consider frogging it, and I know at some point a knitter will need to frog to switch yarn or needles or fix an error. If I don’t want to deal with it myself, I can’t expect someone else to.

The second and third samples use only 3 colors, but unfortunately the stripes group up very obviously on the sleeves (which is why I used 2 solids in the worsted weight sample).

But! I had a shower thought the other day about how I can make 4 colors work while still getting the visual result I want with the yarn changes. I shall be incorporating it into my next…fourth sample.

Please send fortitude, as at some point I will need to frog the previous versions…!

Back from a break

I had a nice, if unintentional, break from knitting, designing, and social media generally. I wish I hadn’t, in the sense that I wish I could be on all the time, but it might be time to accept that my energy levels come in 6-month waves, and I should probably start making plans for another similar “vacation” in about 6 months!

What did I do while away? Honestly…mostly stress about the US slip-slip-slipping further into a wh*te supremacist nightmare and then avoid said stress by playing video games. Stress can also make me slip back into bad eating-disordery thought patterns, which I don’t love, but I have an OK handle on that. I’ve had a pair of Alba socks on the needles for over 2 months, and was FINALLY able to push through and get the second sock bound off yesterday, so that’s the entire extent of my knitting during my downtime.

To be honest, it was hard to get myself back into the designing mindset simply because I don’t think I have a good handle on it yet. I love coming up with ideas and making them real, but get hung up on the selling part. It requires expenditure (paying for tech editing, for example) and marketing (endless social media posts, blog posts, emails), which require both regular effort to create and maintain, and emotional effort to react to. I have a tendency to go all-or-nothing on endeavors, so I get frustrated when a pattern isn’t an instant success and sometimes wonder, why can’t this business totally replace my day job already?? This isn’t a fish for compliments, by the way, just an explanation for why I get stuck between enjoying the publishing journey and feeling like a failure for not being a knitting millionaire. (If that statement made you laugh, trust me, me too lol)

What am I working on now? Well, I unexpectedly found myself waiting in the car for 3 hours while my partner had retina surgery, so I have a shawl for waiting in the works. Super Sock Scarefest has started to build their schedule for 2022, so I’ve got a fun pattern in the works for that. I have another sock design I was hoping to get out during Pride month that, uh, did not go out during Pride month, but that doesn’t mean we can’t celebrate it later in the year!

I have other stuff on deck that I enjoyed looking at in my brainstorming notebook, but to avoid overloading myself I’ll hold onto those for another day (or month).

The header image for this post is a lovely-smelling rose bush I got in an attempt to make myself take care of the yard again. So far it’s still alive!

Spring 1

I'm wearing a textured cowl in blues/greens and politely tipping a sunhat to the viewer

Hello from farmer Laur!

First, I have no idea how I missed this gradient club the first time KnitCircus posted it, but when they re-released it for non-club members I knew I had to jump on it immediately. I’ve put way too many hours into Stardew Valley to not try to design something with a game-inspired gradient!

As per usual, my initial concepts were all way too literal, trying to find stitch patterns that would look exactly like something in the game. Eventually, I came around to the concept of the growing crops, but with more fanciful interpretations.

The growing sections start with seeds, in the form of raindrop stitch. It’s a bobble that isn’t a bobble! I really hate having to turn my work a billion times and end with p5tog or something equally odious, so I’m in love with this sweet little stitch that gets that same bobble texture without too much work. That said, I did slightly modify the stitch for my purposes, so I made a tutorial!

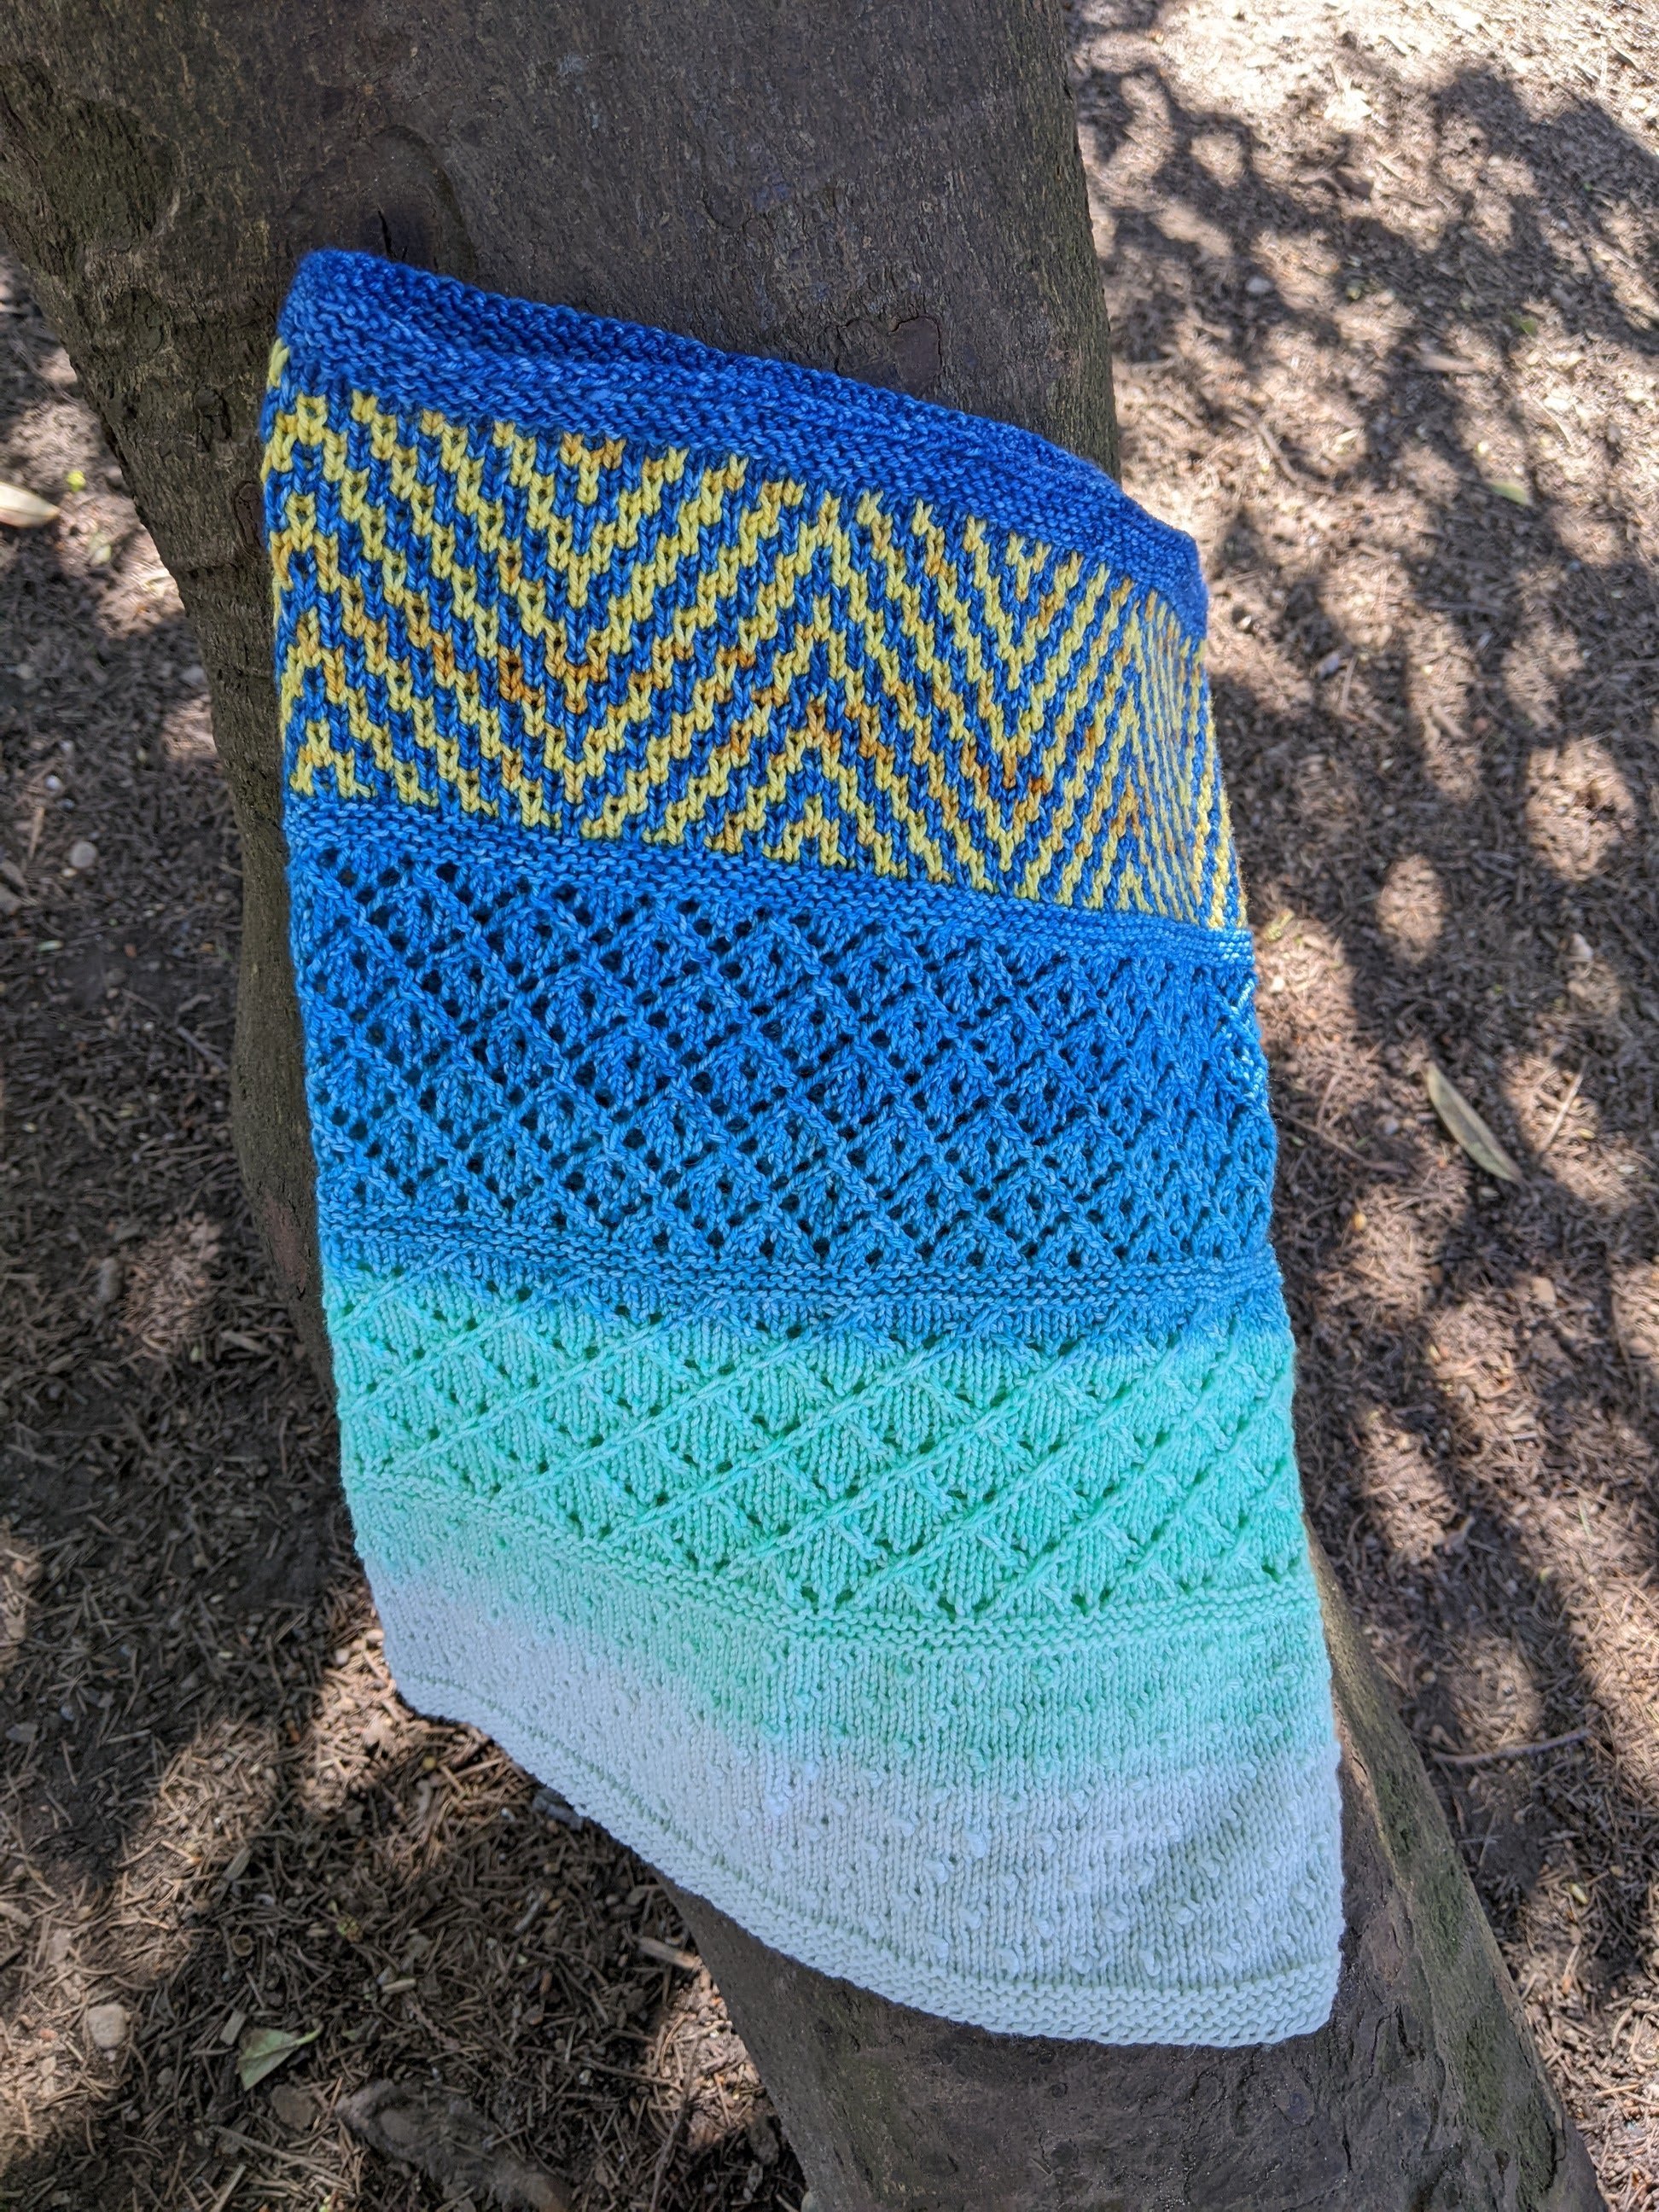
The textured cowl laid out on a tree branch so you can see the distinct patterning sections

Sections from bottom to top: seeds, sprouts, crops, mosaic

The second growing section represents the sprouts of the plant, so it’s some simple lace in a vaguely grid shape. Of course, in knitting we love diamond grids over square ones, so diamond lace it is!

The final growing section is fully-grown crops, so more diamond lace, but make it fancy. I had a devil of a time making the chart for this section - I first modified a flat stitch for in-the-round knitting (not usually that difficult, but can be tricky if you have decreases that cross the BOR marker). Then, I had to make a lace chart that would represent what was happening, which is way harder than I thought it would be! It’s important to me to provide both written and charter instructions for knitters, but I admit this section made me want to abandon charts. I knew how to say what I wanted to happen, but it took many iterations (and lots of help from my tech editor snooptiggercrafts <3) to finally get a chart that would accomplish the same thing.

Lastly! The cheerful mosaic section representing the Stardew Valley logo. I know I say this all the time, but mosaic is the literal greatest. If you haven’t yet tried mosaic knitting, please do! It’s just knitting and slipping, no really complicated colorwork (aside from paying attention to where to knit and slip).

After finish the cowl, I still had a bit of yarn left, but realized i had gone over 100g on the MC part. I shortened the seeds section slightly, which not only uses less yarn but has the added benefit of matching the lacy sections in height (since in order to stretch them to the right width, they have to lose height).

I friggin love how the cowl turned out. I also love the photos - thanks to my very patient partner! KnitCircus has bundles available on their site, and of course non-gradients will work just as well.

Flower Kerchief

A close-up of me wearing a green kerchief dotted with tiny pink flowers

A close-up of me wearing a green kerchief dotted with tiny pink flowers

Knit Picks has recently started doing Independent Designer Showcases, in which they gather up seasonal designs from independent designers and feature them during a certain time frame. I decided to submit a kerchief pattern to their spring-themed showcase, because I thought it would be more out of the ordinary than socks (which is what I originally wanted to submit…).

I’m pleased with what I came up with - a soft and practical kerchief that keeps hair out of your face and looks super cute! It’s also an extremely fast knit, which is good when the design involves things like straps, which are supremely boring to knit but required for the piece to wear properly.

Each color needs less than 50g of sport weight yarn - for the contrast color you seriously only need 5 yd/m, so you could easily pull from stash.

There are some fiddly bits, but I wouldn’t say this pattern is particularly difficult. There are some double increases/decreases (meaning you make 2 or decrease 2 when working an increase/decrease, rather than the usual 1), and the flowers are worked using stranded knitting. That said, the stranded knitting only occurs on right side rows, and said rows are not that long.

All in all, I think this pattern is pretty straightforward. It’s a little outside of my usual style, which was a fun challenge, but I think that’s also keeping me from being super passionate about it, as compared to a sock pattern. That’s okay, though - I still had fun designing it!

The same green kerchief laid out on a wood floor, with lime-green plants artfully arranged behind it

The same green kerchief laid out on a wood floor, with lime-green plants artfully arranged behind it

December/January knitting

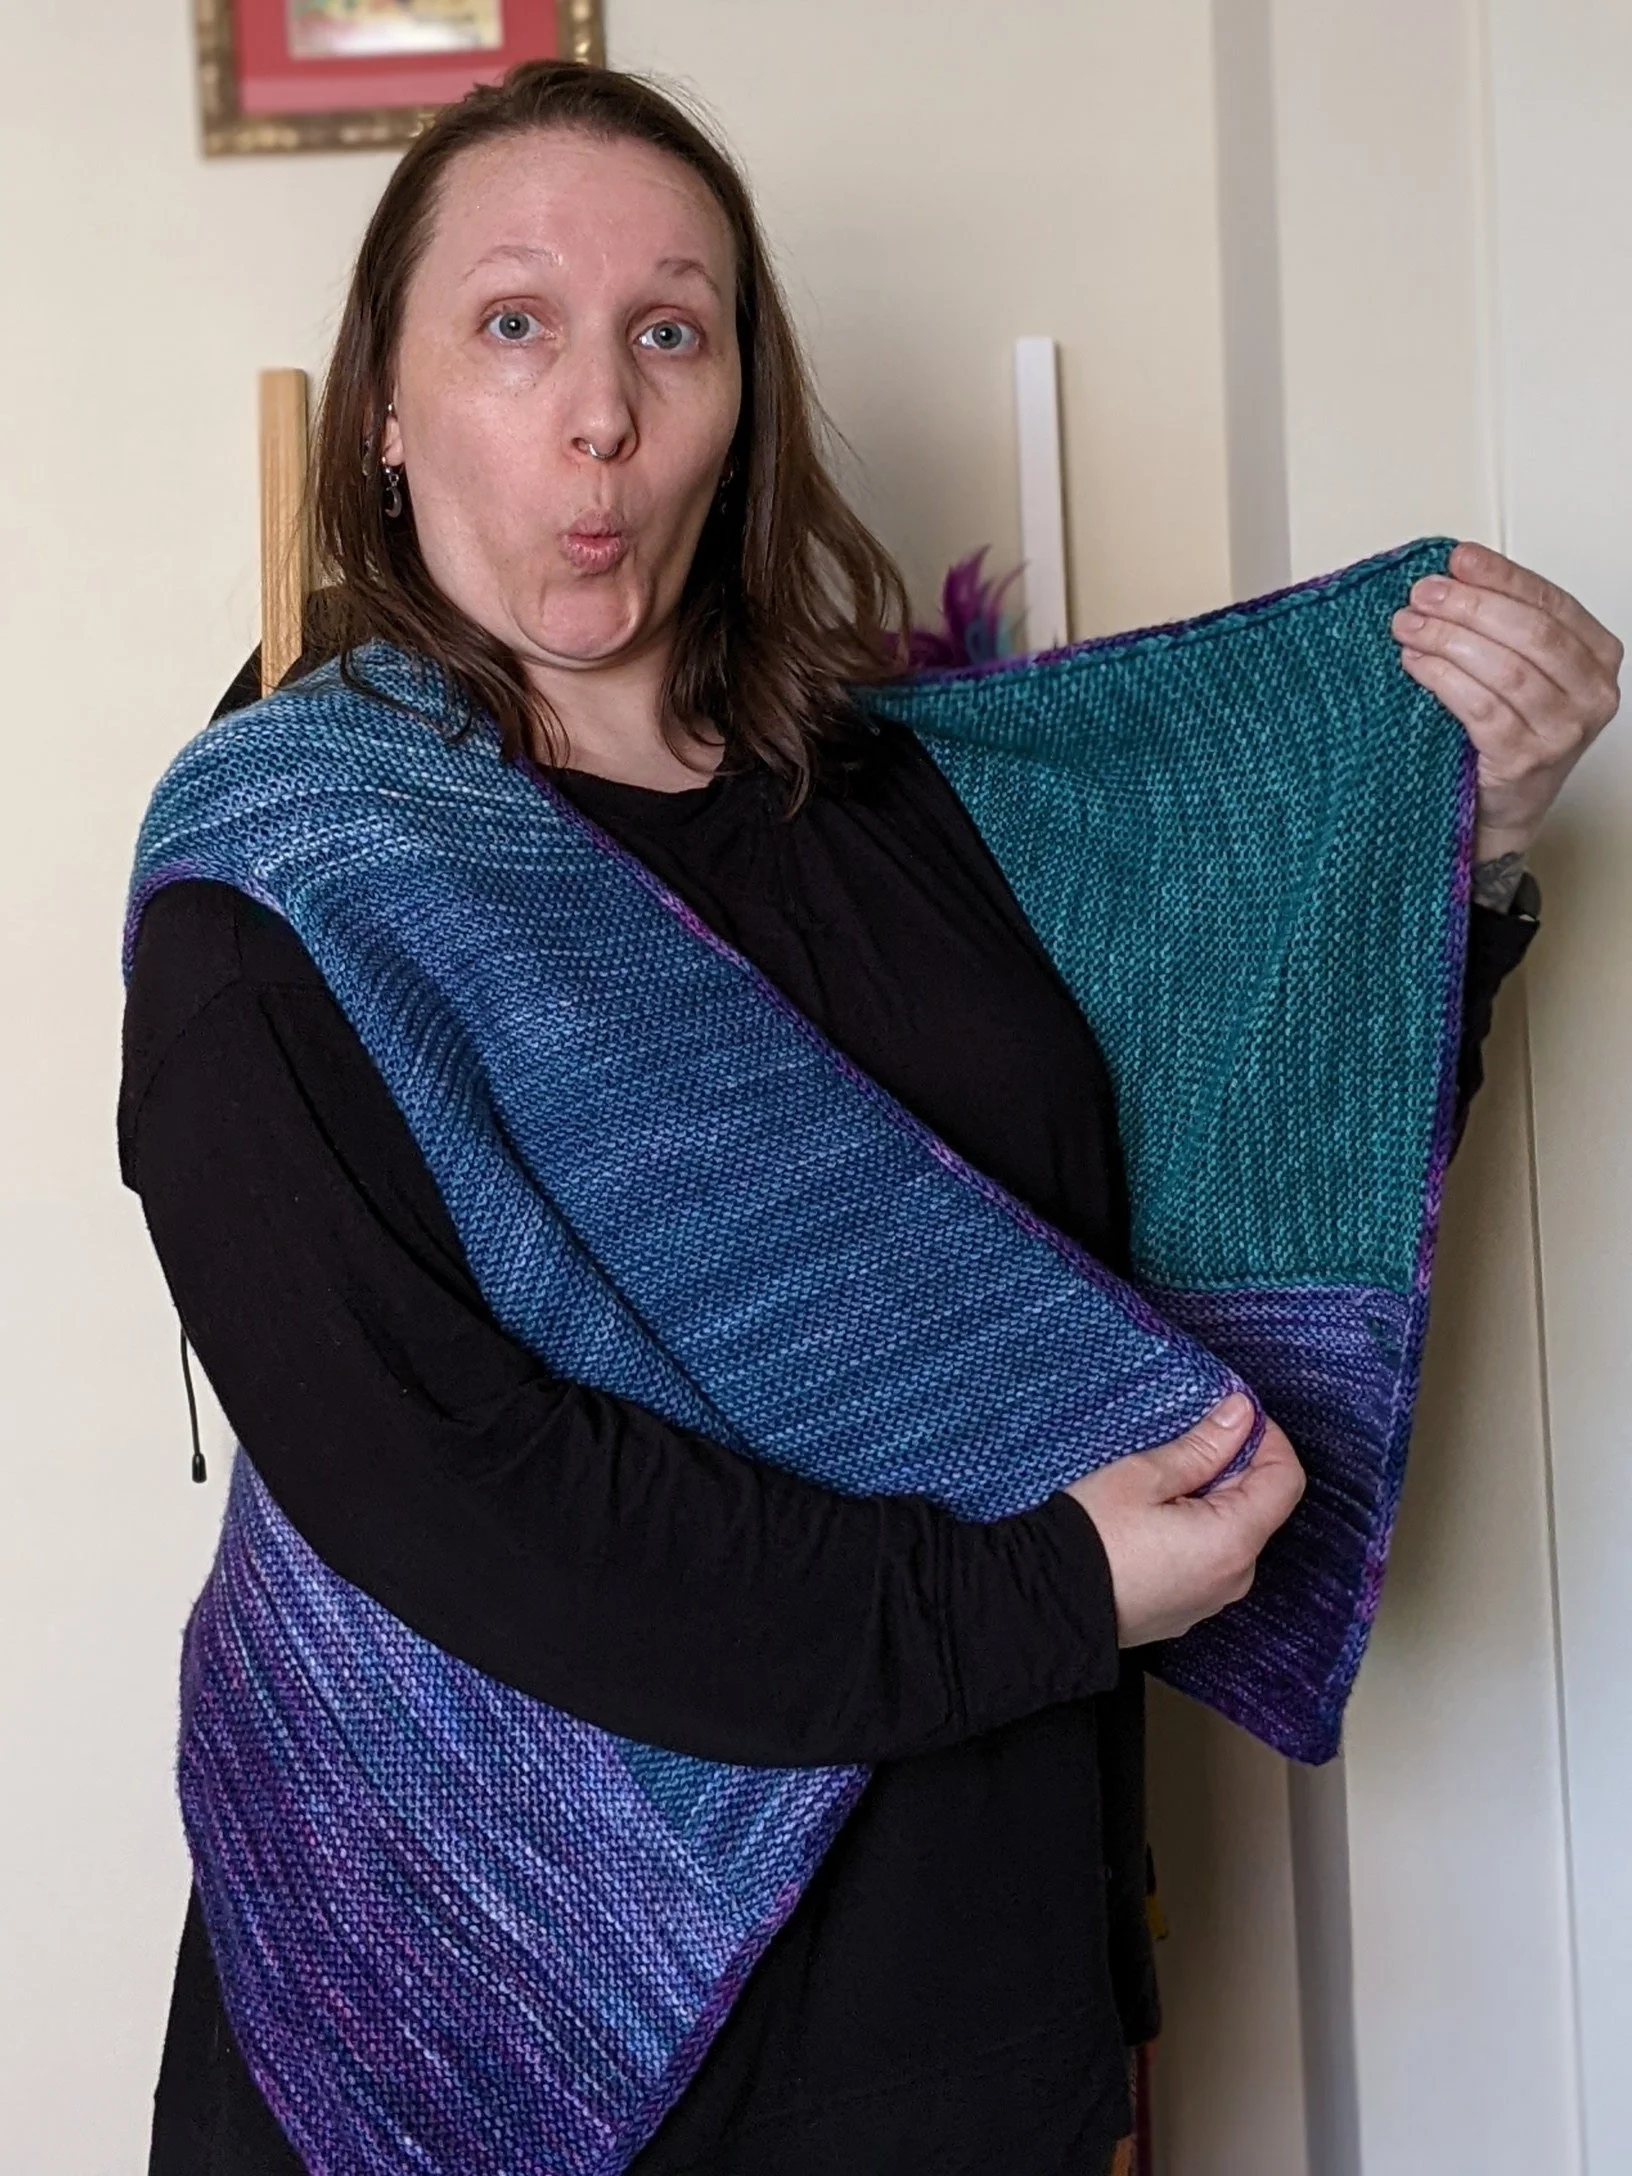
December 2021 was the second annual Fasten Off Yarnalong! I didn’t get as many projects done as I would have liked, but this year I finished Wrapezoid by Shanalines Designs.

I'm showing off a hand-knit sleeveless cardigan in teal, blue, and purple

I'm showing off a hand-knit sleeveless cardigan in teal, blue, and purple and making a silly face

Hilariously, it’s something I bought during last year’s yarnalong, but didn’t get around to knitting because I couldn’t decide on what yarn to use. This year, despite getting some new patterns, I ended up knitting this simply because I finally decided to crack into a 6-skein jewel-tone set from Sunshine Yarns.

I split up the yardage for my size, intending to work all 6 skeins into the FO, but didn’t quiiiite get to the 6th skein. I don’t begrudge the given estimates being generous (I do that myself, just in case), but I wish I had thought to split up the yarns slightly differently.

Maybe because the colors were in a color gradient, I initially didn’t plan to stripe the colors into each other. Of course, immediately after doing that I realized that it really needed to happen. So, I did a whole thing to cut out a section and redo it, this time with striping. It made a huge difference! One hot tip: if striping in new colors in garter stitch, join the new color on the wrong side! It blends the colors on the RS garter ridges and makes the color transition look even smoother.

I have a hand-knit lace shawl in many colors draped around my shoulders

I have a hand-knit lace shawl in many colors draped around my shoulders.

My other December knitting was Lamina Wrap by Ambah O’Brien. I’ve had the pattern for ages and always intended to use it with an Advent kit. What luck that this year Ambah officially added it to her Holiday KAL lineup! For this one, I broke into a 2020 Advent kit I got from Love & Speckles. The colors are all based on gemstones, with the 25th color serving as the metal “setting” for the gems.

The lace pattern was easy enough, which is nice because although I can do lace, I don’t always want to hurt my head trying to remember a complicated pattern or stitch.

Unfortunately, I didn’t manage to finish it by the end of the month, mostly because I was redoing the Double-up Hat for like the 5th time trying to get the sizing just right. You’d think a creation of garter and stockinette would have been easier to finalize, but I had to do a few iterations to get the length of the brim and the gauge (which affects the stretchiness) juuust right.

I managed to finish Lamina Wrap early in January, which made Cake very happy as she apparently needed a signed invitation to lounge in front of the fireplace.

I'm wearing a hand-knit striped sweater in reds and yellows and giving a thumbs up

I'm wearing a hand-knit striped sweater in reds and yellows and giving a thumbs up

I also finished my THIRD and ultimately imperfect iteration of a raglan sweater I’ve been working on. This is a pattern I want to make with the Sizing With Spreadsheets method. Hilariously, I haven’t even gotten to the spreadsheet troubleshooting (in that I’m still only using my personal measurements and not looking for testers with different shapes and proportions yet). I’m still figuring out nuances like “how much extra to add to my neck circumference to get the huge and luxurious neckline I want” and “where should I have the knitter measure in order to get a raglan line that isn’t ridiculously long.” It’s coming along, but slowly. And every failure makes me want to work on it more, though I feel like I really should take a break instead. Onward!

I’ll save you reading more about the Double-up set by directing you to the entire blog post about the subject!

Double-up Hat and Cowl

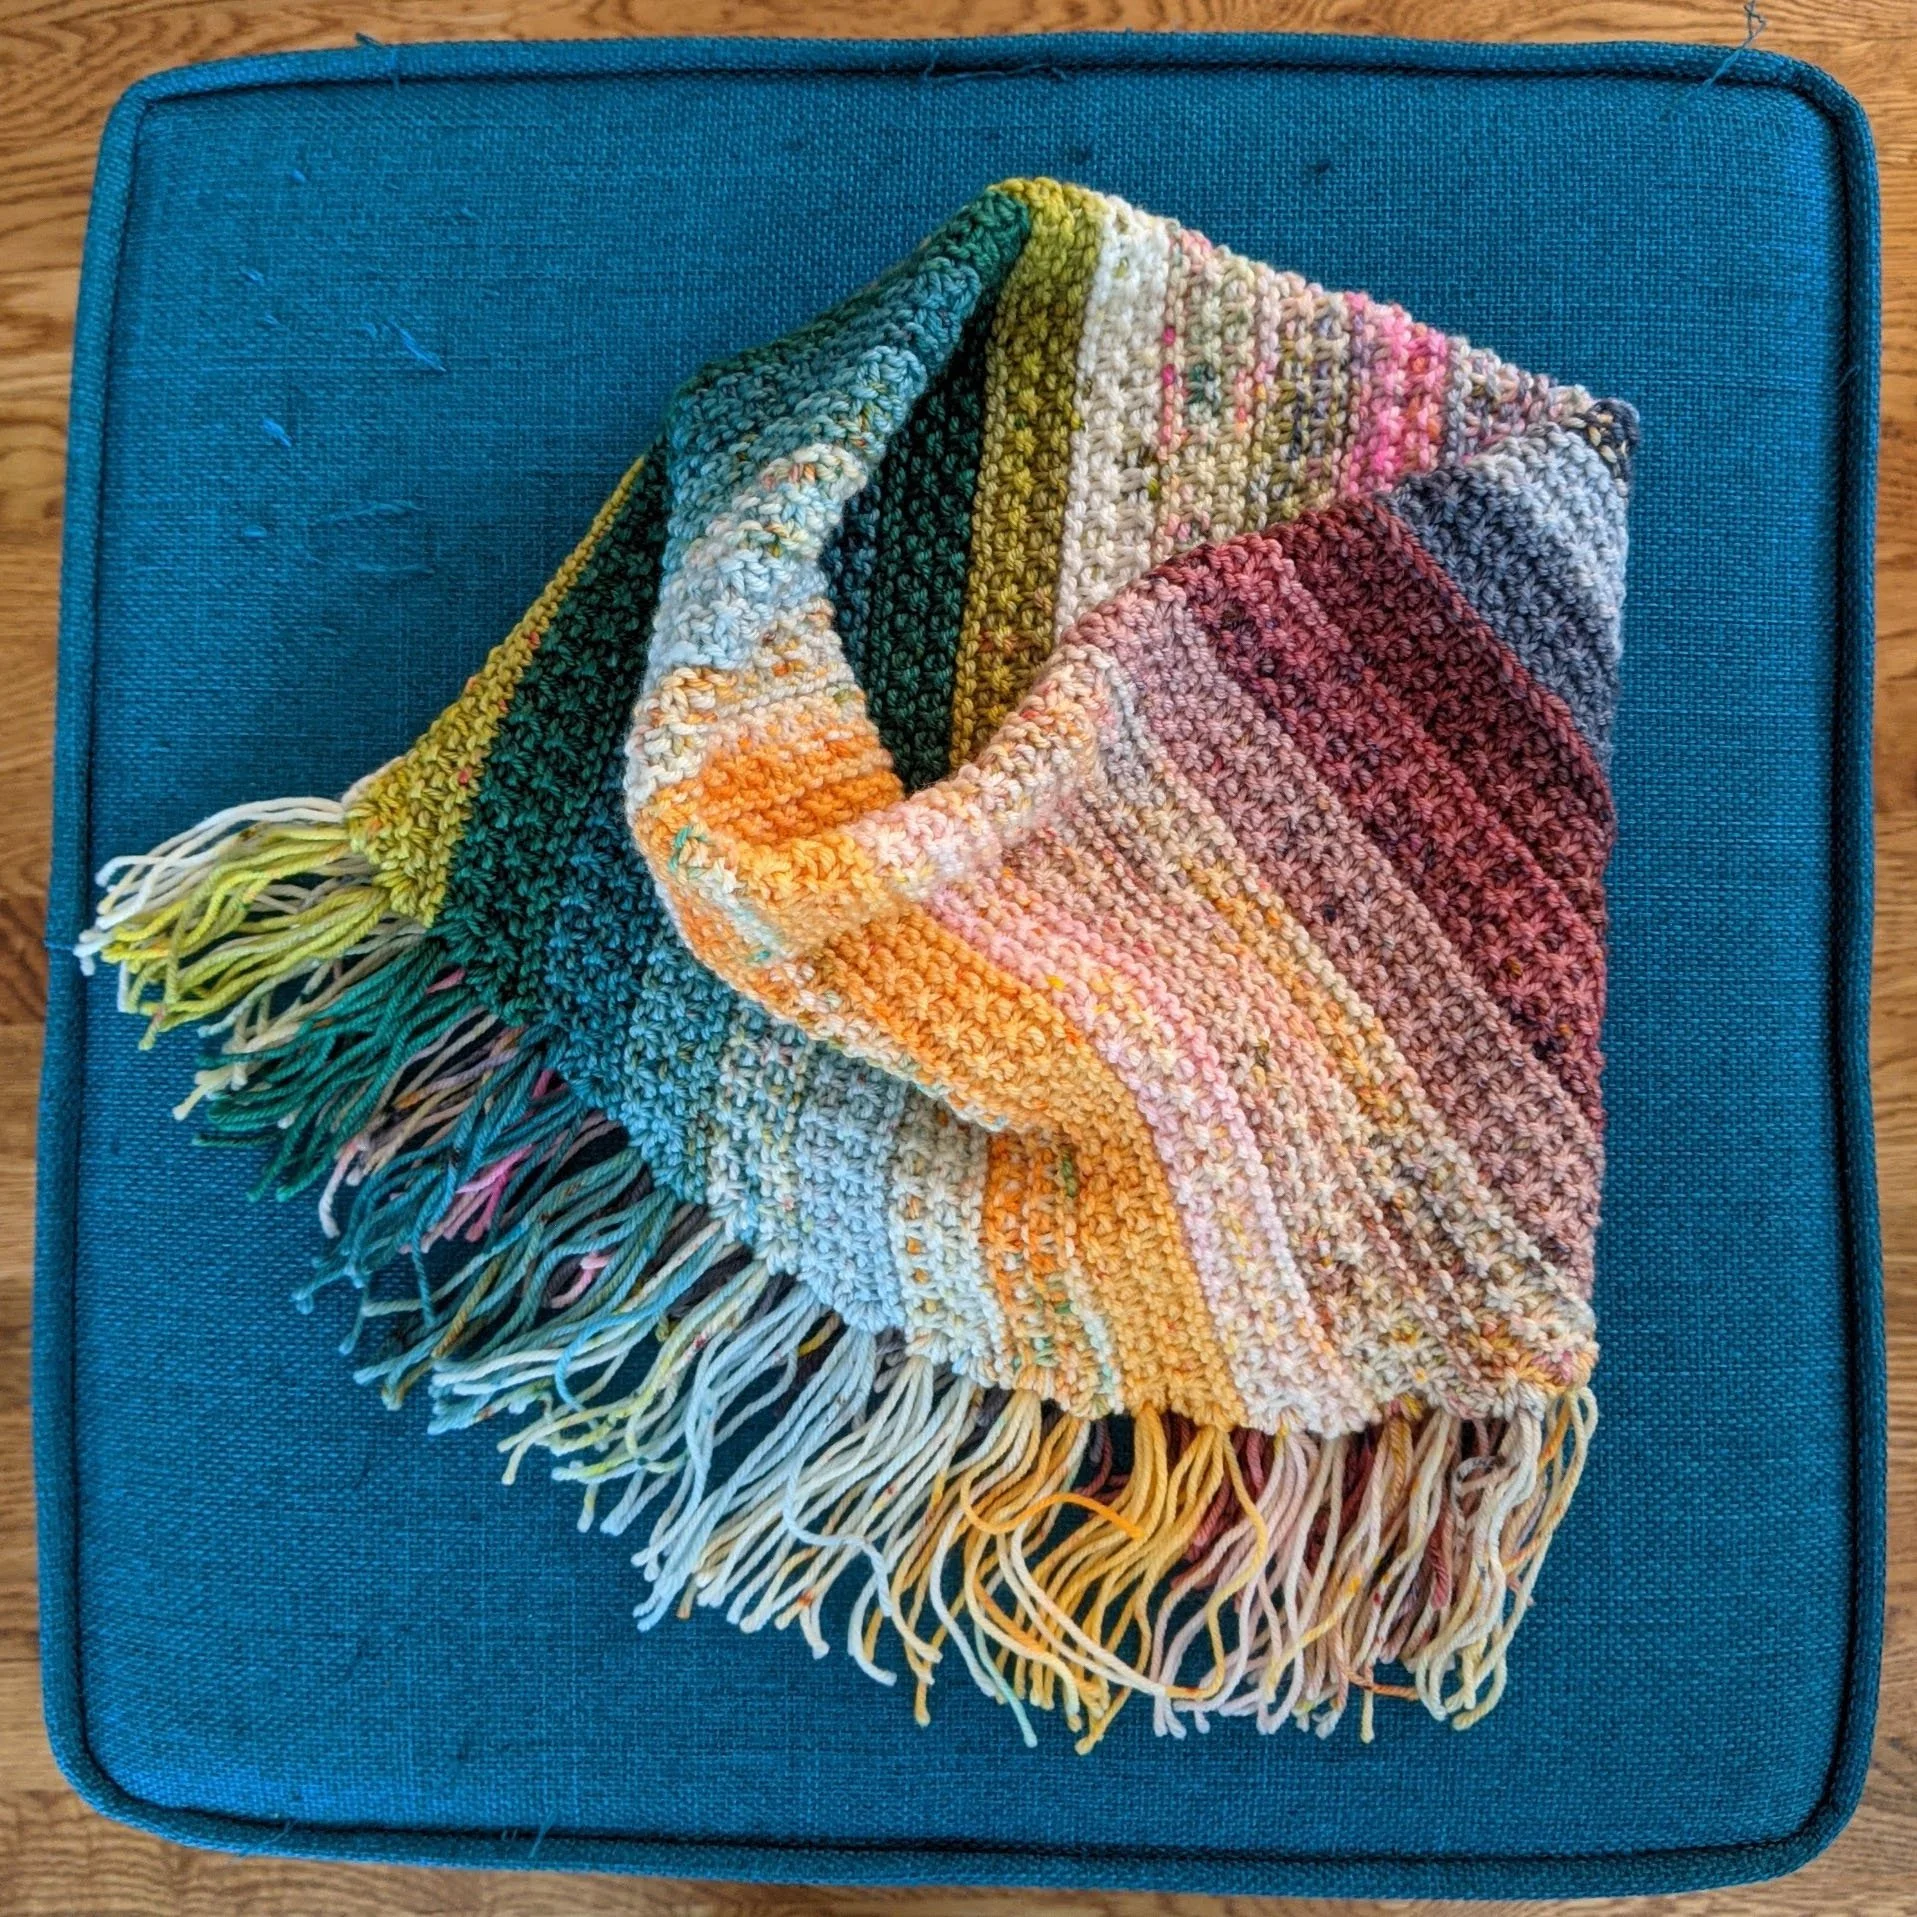
A cowl knit on the bias in multi-colored, textured stripes. It's arranged so you can see that it's reversible (there is no wrong side). The bottom edge has fringe all around it.

The Double-up Cowl, arranged so you can see the right side on inside and out.

I had a gorgeous DK-weight advent set from Emma’s Yarn and really wanted to do something cozy and stripey with it! To showcase all of the colors, naturally I used my favorite pairing of provisional cast-on and 3-needle bind-off.

I wanted something extremely quick and satisfying to knit, but thought garter stitch might be a bit TOO boring. With slipped stitches in the mix, it was more engaging to work on. They of course look great on solid color yarns, but I also like seeing how variegated/speckled yarns change when you have these extra-long stitches.

I'm wearing a cowl in multi-colored, textured stripes. The fabric is stiff enough that the cowl stays up around my neck and chin.

Look how nicely the cowl stays up around my neck! Peak coziness.

Since the end goal was to fold the cowl in half and get a sturdy fabric, I made the fabric biased in the hopes that the shaping would help support the fabric. And it did! The biasing, when folded, creates a triangle which helps to keep the cowl propped up around your neck. My mom said it’s the first time she’s had a scarf or cowl that actually stayed up below her chin, which is what she wants to keep warm. (I’m sure the double-DK-weight didn’t hurt either)

Because I’m lazy and extra, I wanted to add fringe to the cowl but not have to seam it beforehand. Thus, I used the fringe to tack the two pieces of fabric together! Of course, it’s always an option to seam it and forgo fringe entirely or forgo seaming and add fringe! A could of my testers added fringe to one edge but left the other end loose so they can choose to fold or not.

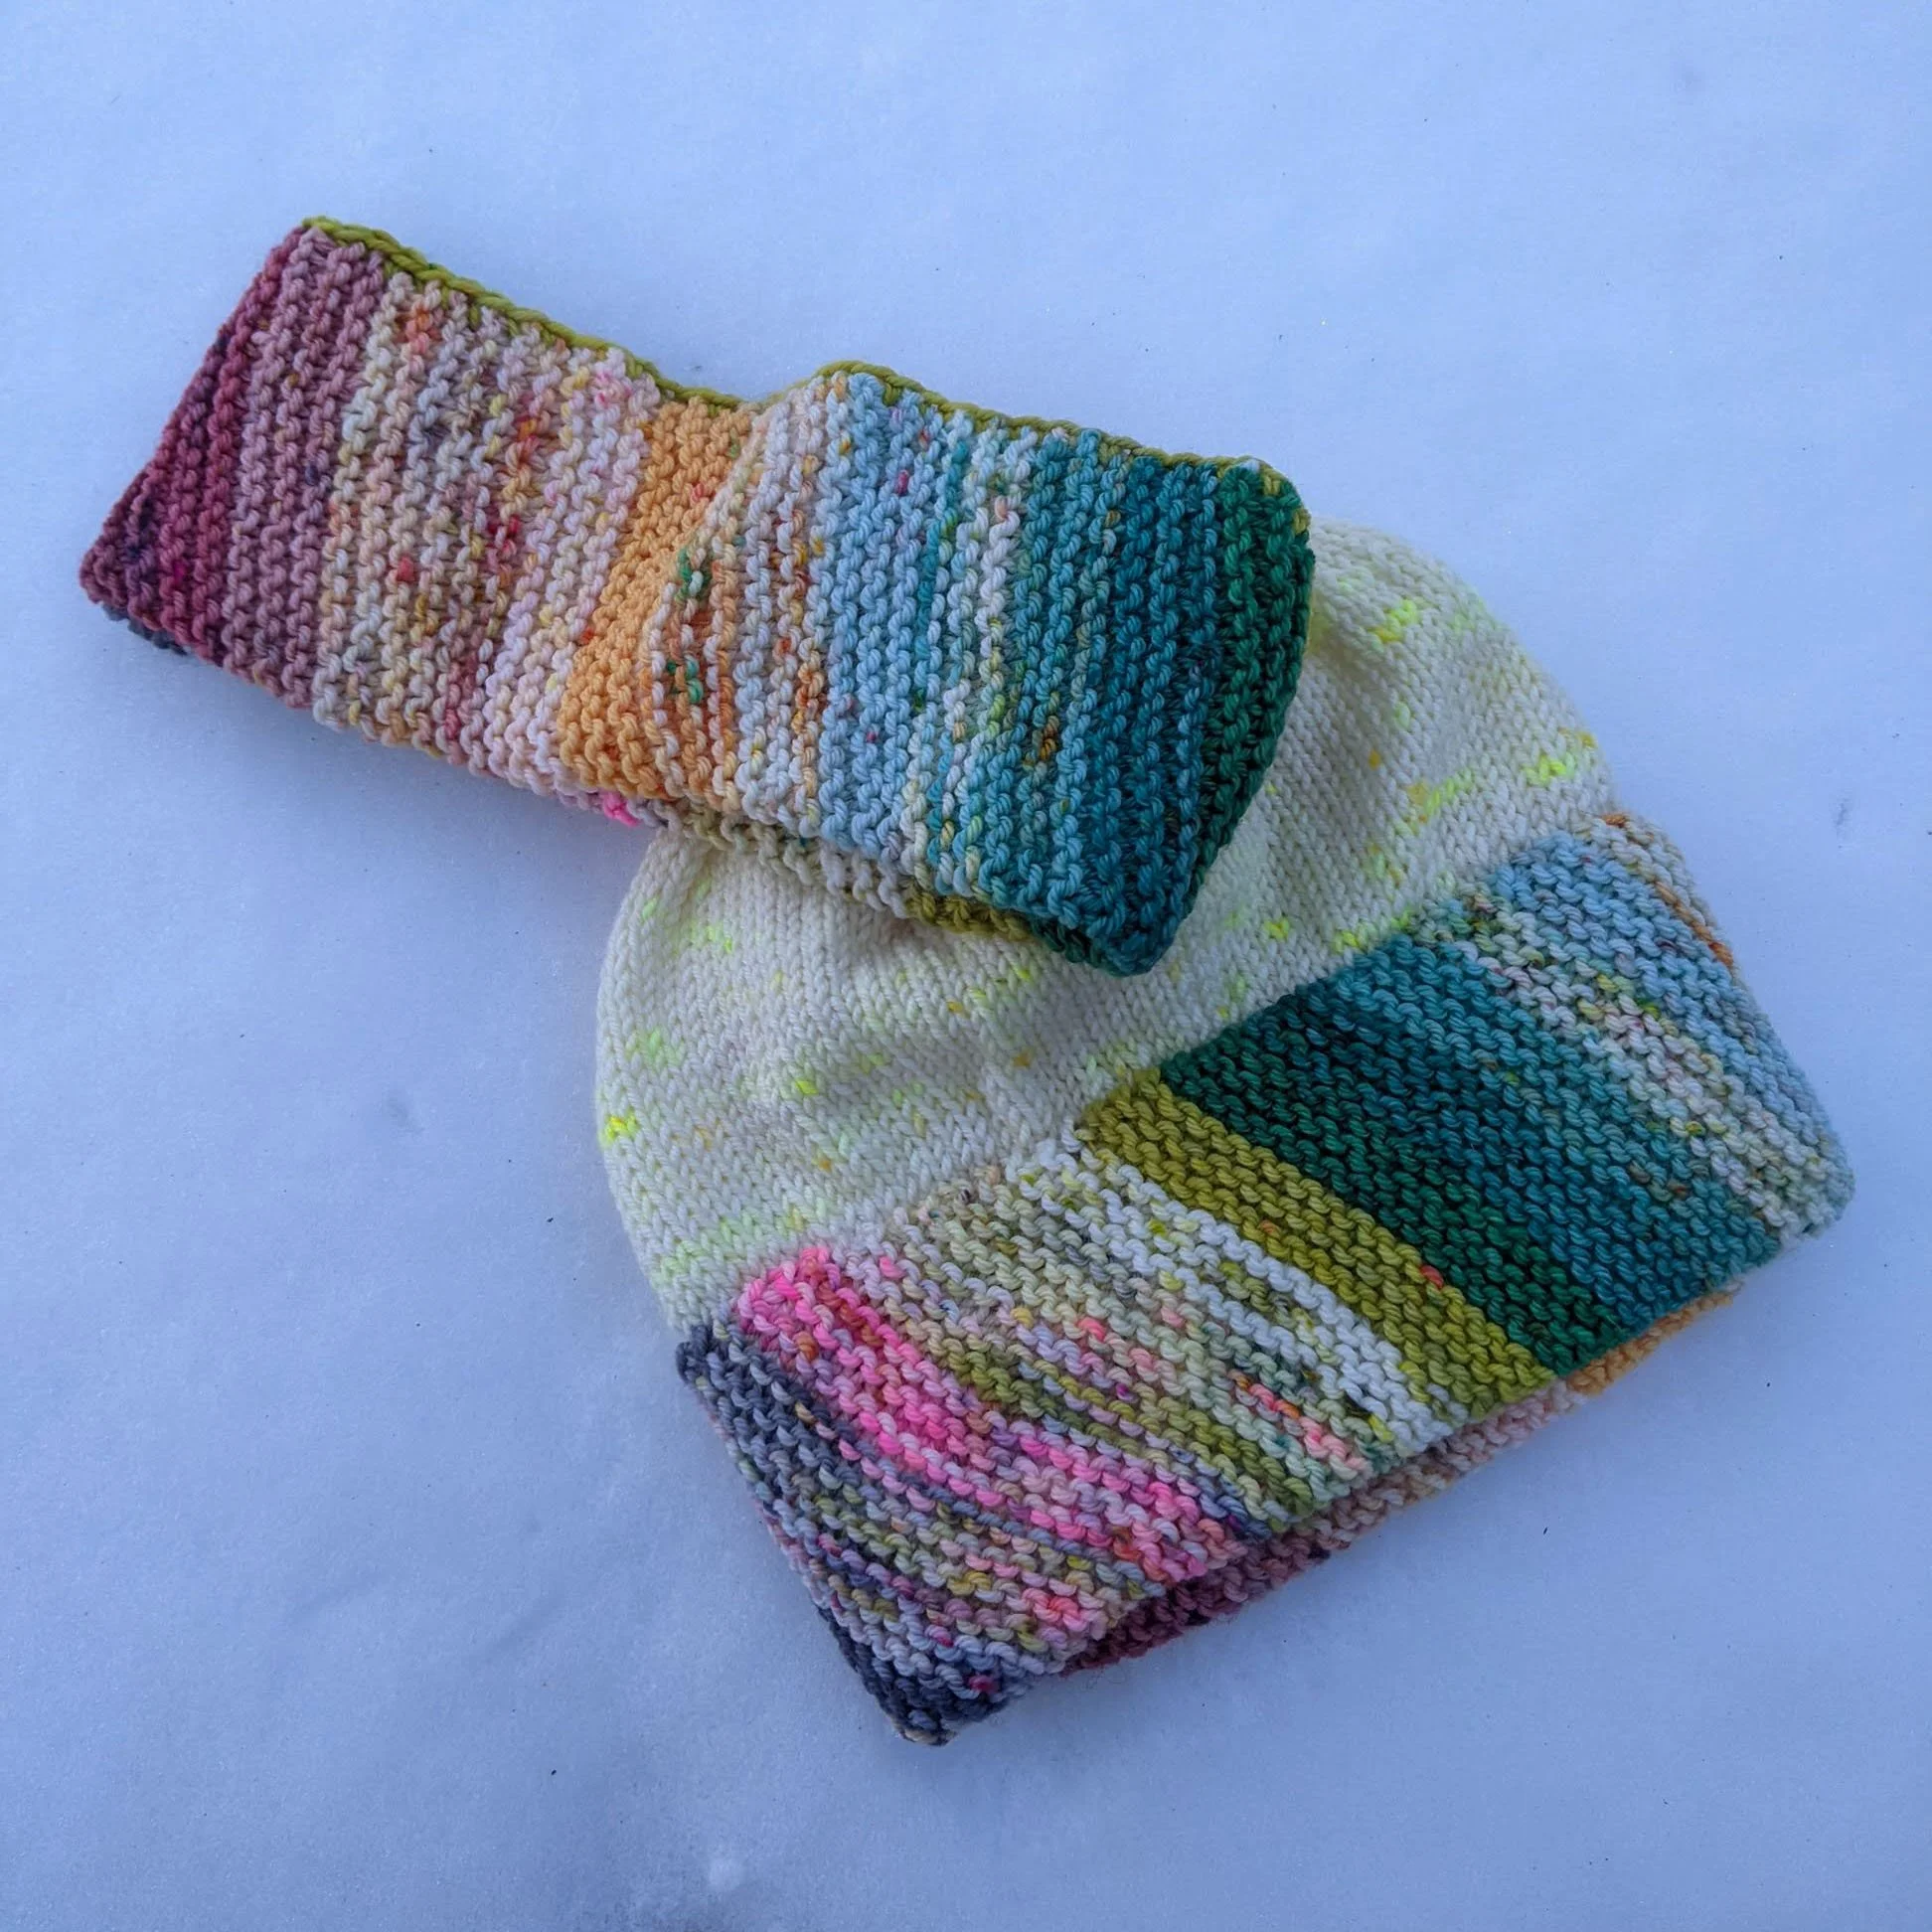
A headband and hat laid out on the snow. Both have a multicolored, striped brim. The headband is finished with a round of crochet in green. The hat is finished with a brim in cream and yellow.

The Double-up Hat (and headband!) on the snow

With the headband and hat, I stuck to garter only. A big part of that is because I needed the extra stretch to accommodate multiple sizes, but also because I wanted to rush through the stripe knitting to get to the crown of the hat! The headband/hat brim is also worked on the bias, though, so I think the pieces maintain continuity. And you should be able to knit both from your 20g advent set - I made a cowl, a hat, a slightly larger headband, and I still have leftovers I think I’ll use for socks!

I admit that my original drive to create the headband was so I’d have something to keep my ears warm when I go to the gym on cold days and have my hair up, but after I made the hat…I fell in love with that version! I do still grab the headband when I’m heading out with my hair up, and it is delicious to not have my ponytail squashed or loosened by a hat.