Blog — lauroftheblings designs

Little Bits Beanie is here!

LBB 9.jpg

I’m happy to announce my first hat pattern is now available on Ravelry! The Little Bits Beanie was designed at the request of my partner, who needed a new hat to replace his well-worn and very hogged-out commercial knit hat. He wanted something neutral, but was open to some color, which turned out great because I have a LOT of fingering-weight scraps.

I picked Knit Pick’s Hawthorne partially because it feels less “warm” to the touch than something softer like a merino blend and partially because I have a fair amount of it in gray. The gauge is pretty loose, because Hawthorne is already an exceptionally dense yarn (100g = 400 yd / 366 m), and because he didn’t want a warm hat so much as a fashion hat. The scraps I picked were mostly of the lighter fingering weight variety, but the stripes are short enough that it’s not noticeable.

The original sample was knit with a nice long ribbing, but when I had him try it on he said he wanted a snugger brim, so I dropped another needle size and opted for a folded brim, which creates even more negative ease on account of being double-thick fabric. As much as I hate the joining round on a folded brim because it’s so fiddly, I loooove how they look! Plus, it’s so decadent to have the nice and smooth knit side against your forehead. Having tried both types of brims, I figured both could stay in the final pattern.

LBB 2 resize.jpg

For the stitch pattern on the hat itself, I spent many weeks waffling about it. I was originally trying to find something with slipped stitches, possibly slipping stitches with yarn in front to really enjoy the different CCs throughout the hat, but I eventually gave up on that idea because the slipped stitches might cause the stripes to pull or pucker differently than the rest of the hat. The pattern I eventually settled on was simple, but depending on whether you use the MC or the CC to make the purl stitches, it looks pretty different! Thus, another choose-your-own-adventure element was added. I’d love to try this same stitch pattern, but all over the hat rather than in stripes, just because the more repeats you do, the more it starts to look like a lattice (to me anyway).

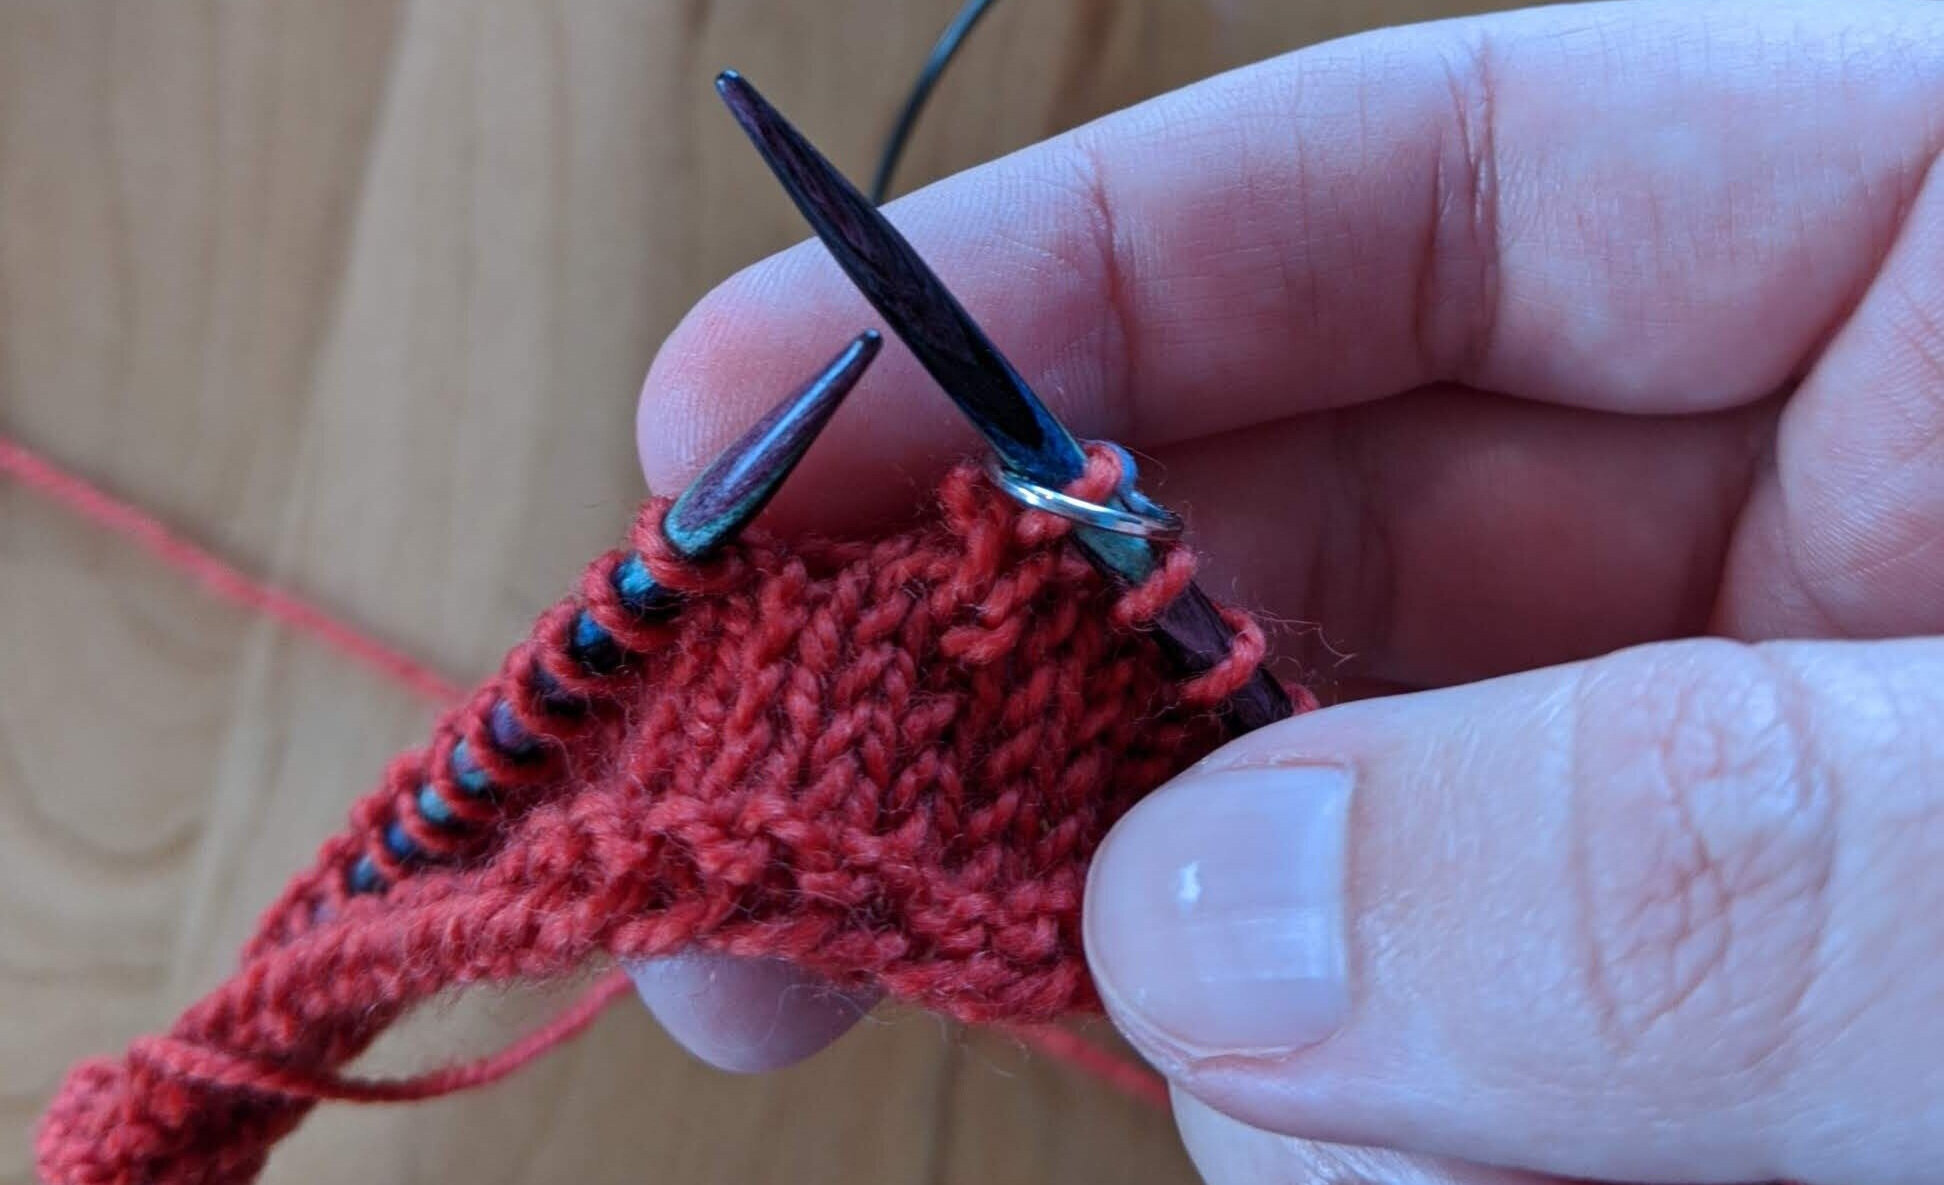
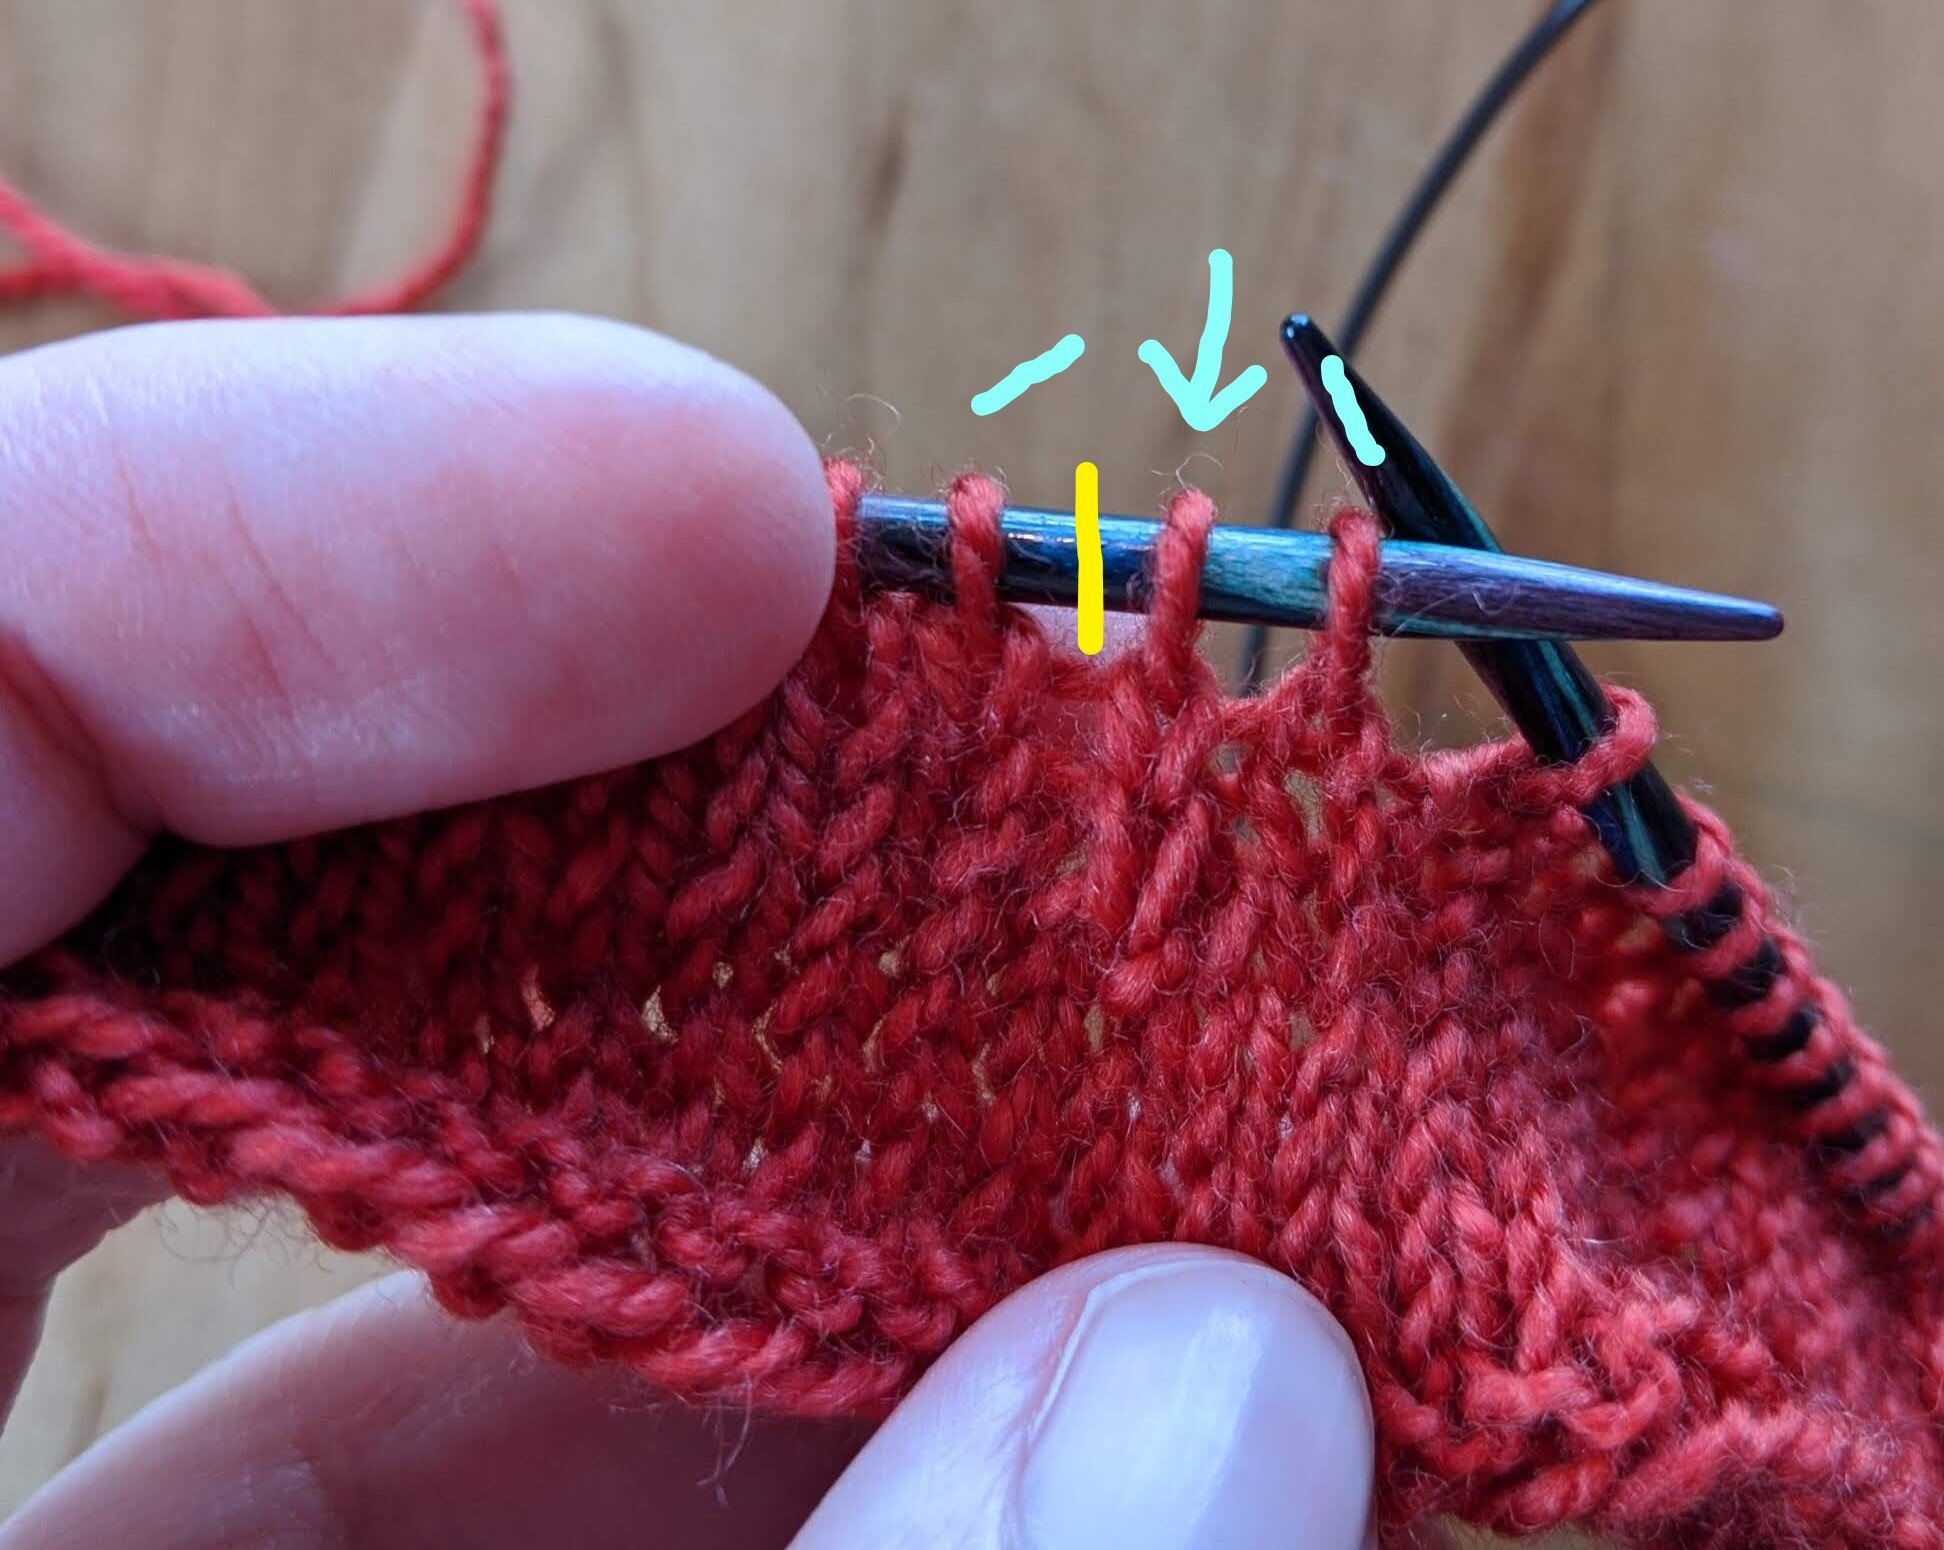
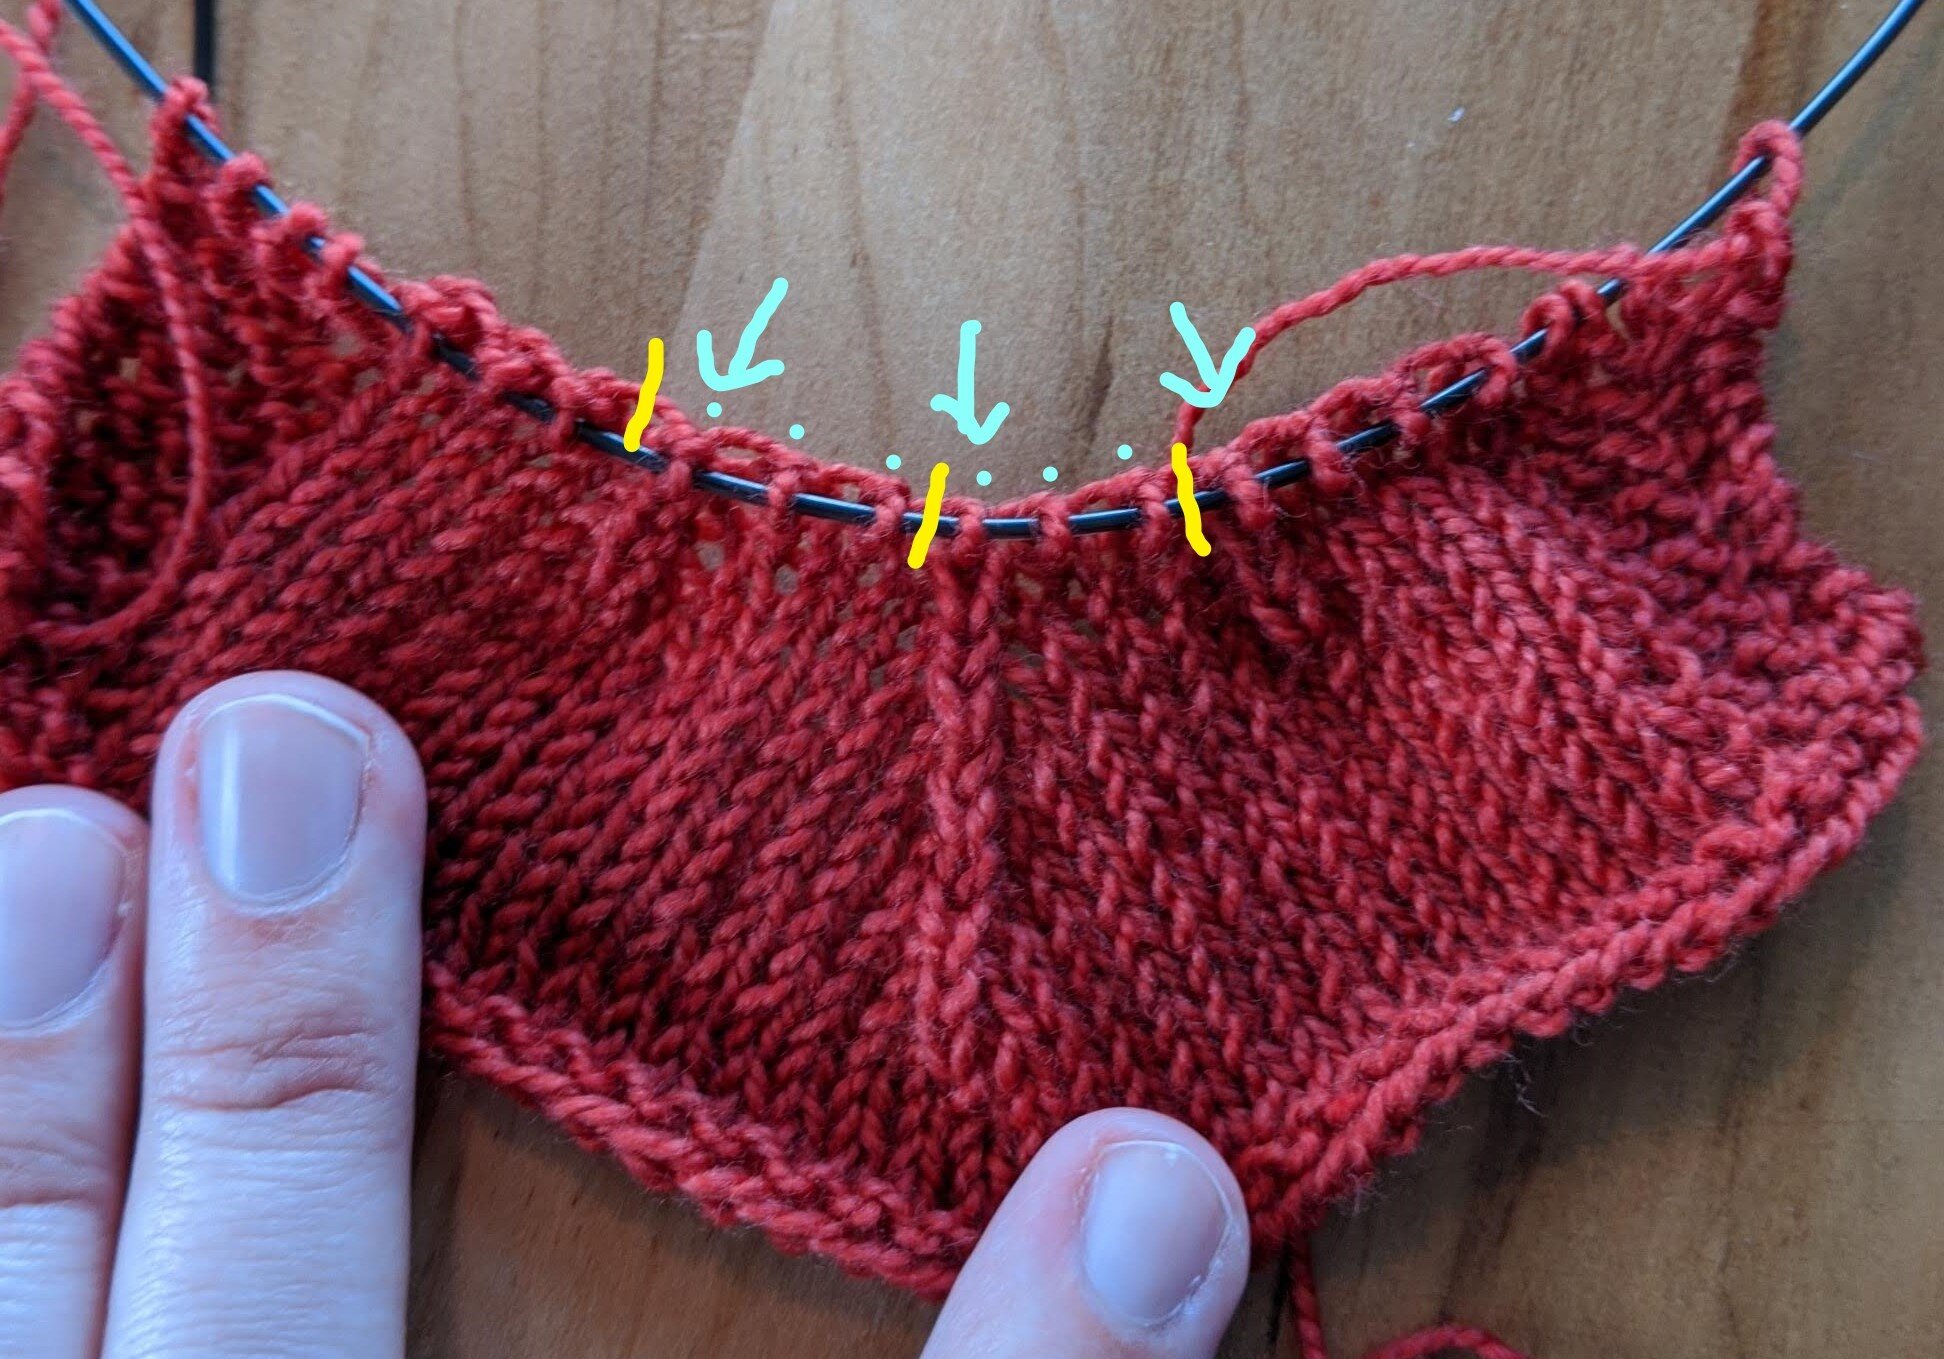
The crown shaping incorporates another of my favorite techniques - the CDD. Not only do I like the look, but I like the efficiency of taking care of 2 decreases with one stitch! Working CDDs with stitch markers all mixed up in the stitches is a pain in the butt, so if you’re interested in trying it without stitch markers, I wrote a tutorial that will hopefully help!

Share

Learn to read CDDs and kiss your stitch markers goodbye!

I really love the stacked look of the centered double decrease (CDD), and when working crown decreases on a hat, I also like being able to combine the typical 2 decrease motions (k2tog and SSK usually) into 1 movement.

First, a refresher. The CDD is worked like so:

Slip next 2 sts together knit-wise. Knit 1. Pass 2 slipped sts over this stitch.

However, the nature of how CDDs are constructed means that, when you’ve placed markers indicating where the decrease should be worked, you can’t simply say “knit to 3 before marker, CDD, repeat,” as this would result in a weird diagonal. You have to place the stitch marker in the middle of the stitches that will be worked in the CDD. With a stitch marker involved, the CDD instructions would be more like:

Knit to 2 before marker. Slip next 2 sts together knit-wise. Remove marker. Knit 1. Pass 2 slipped sts over this stitch. Replace marker.

Kind of fiddly!

By learning to read the CDD stitch in your knitting, you can avoid the need for placing markers entirely, and live dangerously! This is how I knit the crown on my Little Bits Beanie, and I hope it helps you knit yours too.

Let’s look at some photos to get a sense of what’s happening. Unfortunately, there is no way to avoid the set-up round and the initial placing of markers to mark the sections of the crown of the hat, so you have to work that round. Here we are on the next round, knitting to 2 stitches before the marker. Keep in mind that the stitch just before the marker will always be the center stitch of the CDD.

Knit to 2 stitches before marker

Knit to 2 stitches before marker

Slip the next 2 sts knit-wise:

Slip the next 2 sts knit-wise

Slip the next 2 sts knit-wise

Remove marker and knit 1:

Remove marker and knit 1

Remove marker and knit 1

Pass 2 stitches over the just-knit stitch and replace marker after the CDD:

Pass 2 stitches over the just-knit stitch and replace marker after the CDD

Pass 2 stitches over the just-knit stitch and replace marker after the CDD

In the early stages of crown decreases, you’ll likely have a rest row in between decrease rows. So, here we come back to the CDD, having worked the rest row. We’re ready to work another decrease, so we stop 2 stitches before the marker again.

Ready to work CDD the second time

Ready to work CDD the second time

Let’s take a look at it without the marker:

2 stitches before the marker, but there’s no marker!

2 stitches before the marker, but there’s no marker!

You can hopefully see the CDD stitch, which stands up above the surrounding stitches because it’s got 3 stitches all stacked on each other underneath. This column of stitches will always be the center of the 3 stitches involved in the CDD. Thus, if basing your counting off of this visual, you’d stop when you have 1 stitch + this CDD stitch, then begin the “slip 2 together knit-wise.”

The center stitch of the CDD is marked with an arrow, and the neighboring 2 stitches that will be decreased are marked with light blue lines. The yellow line is where the marker would be.

The center stitch of the CDD is marked with an arrow, and the neighboring 2 stitches that will be decreased are marked with light blue lines. The yellow line is where the marker would be.

Here’s what it looks like once you have a stack of CDDs, including a few nearby as they slowly converge at the crown of the hat. Remember where the stitch markers are supposed to be with regard to the CDD stitch? Can you tell how many stitches there are “between markers”?

A stack of CDDs in the center with two CDDs converging on it to the right and left.

A stack of CDDs in the center with two CDDs converging on it to the right and left.

Here’s the same image, but with guidelines. The blue arrows indicate the 3 stacks of CDDs. The yellow lines indicate where the stitch markers would be. The blue dots show that there are three stitches between markers at this point. When counting stitches, count the stitches between the CDDs and include ONE of the CDDs in the count. In the case of the Little Bits Beanie, the CDD is at the end of each section, so you’d count from the BOR marker to the first CDD - that’s one section. Then, count from the stitch just after this first CDD to the next CDD, and so on, to ensure all sections have the same number of stitches.

8 multiple cdds guidelines_jpg.jpg

Hopefully this helps you ditch the stitch markers and work CDDs with reckless abandon! If you have any questions, or anything is unclear, please feel free to leave a comment below.