
Despite my love of digital tools, I can never, ever give up my paper planner. To be perfectly honest, I often note things in my digital todo list and also in my paper planner, mostly so I can enjoy checking them off in 2 places. But I’ve settled on a more-or-less sustainable journal/planner routine and figured I’d share, since I know there are lots of planner/bujo enthusiasts out there!
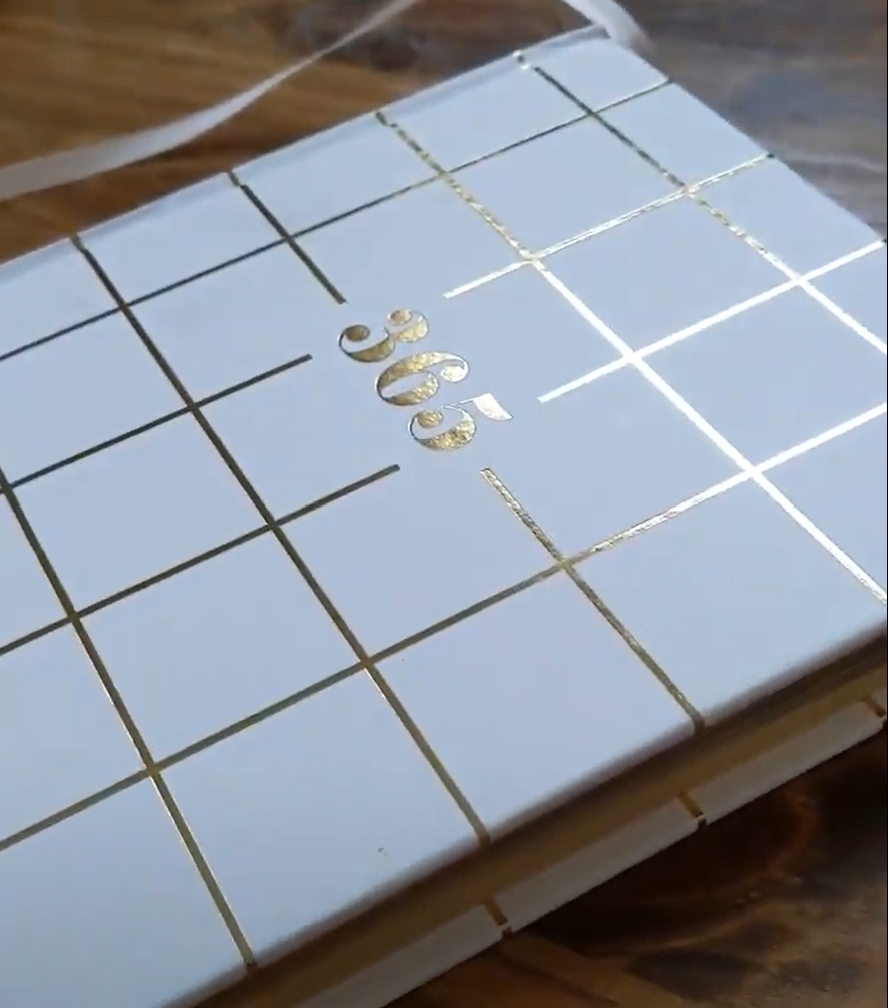
My 365 journal
Last year, I got a planner assuming we would be back to normal and I’d be writing all manner of activities in it. That…completely did not happen! Instead, I ended up getting a blank 365 notebook from kikki.k and started a 5-year journal. (It looks like they don’t sell them anymore, which is incredibly sad.)
I’ve seen some 5-year journals that have daily prompts/questions so you can reflect on the same topic over a 5 year period, but inevitably some of the sample prompts seem too silly to me, so I figured a blank book would be more my style. I’m happy to say that although there were some points where I got behind and had to catch up, I successfully wrote something for EVERY SINGLE DAY, 365 days in a row! Now I’m looking forward to reflecting on where I was last year while I record where I’m at this year :)
My 2022 planner
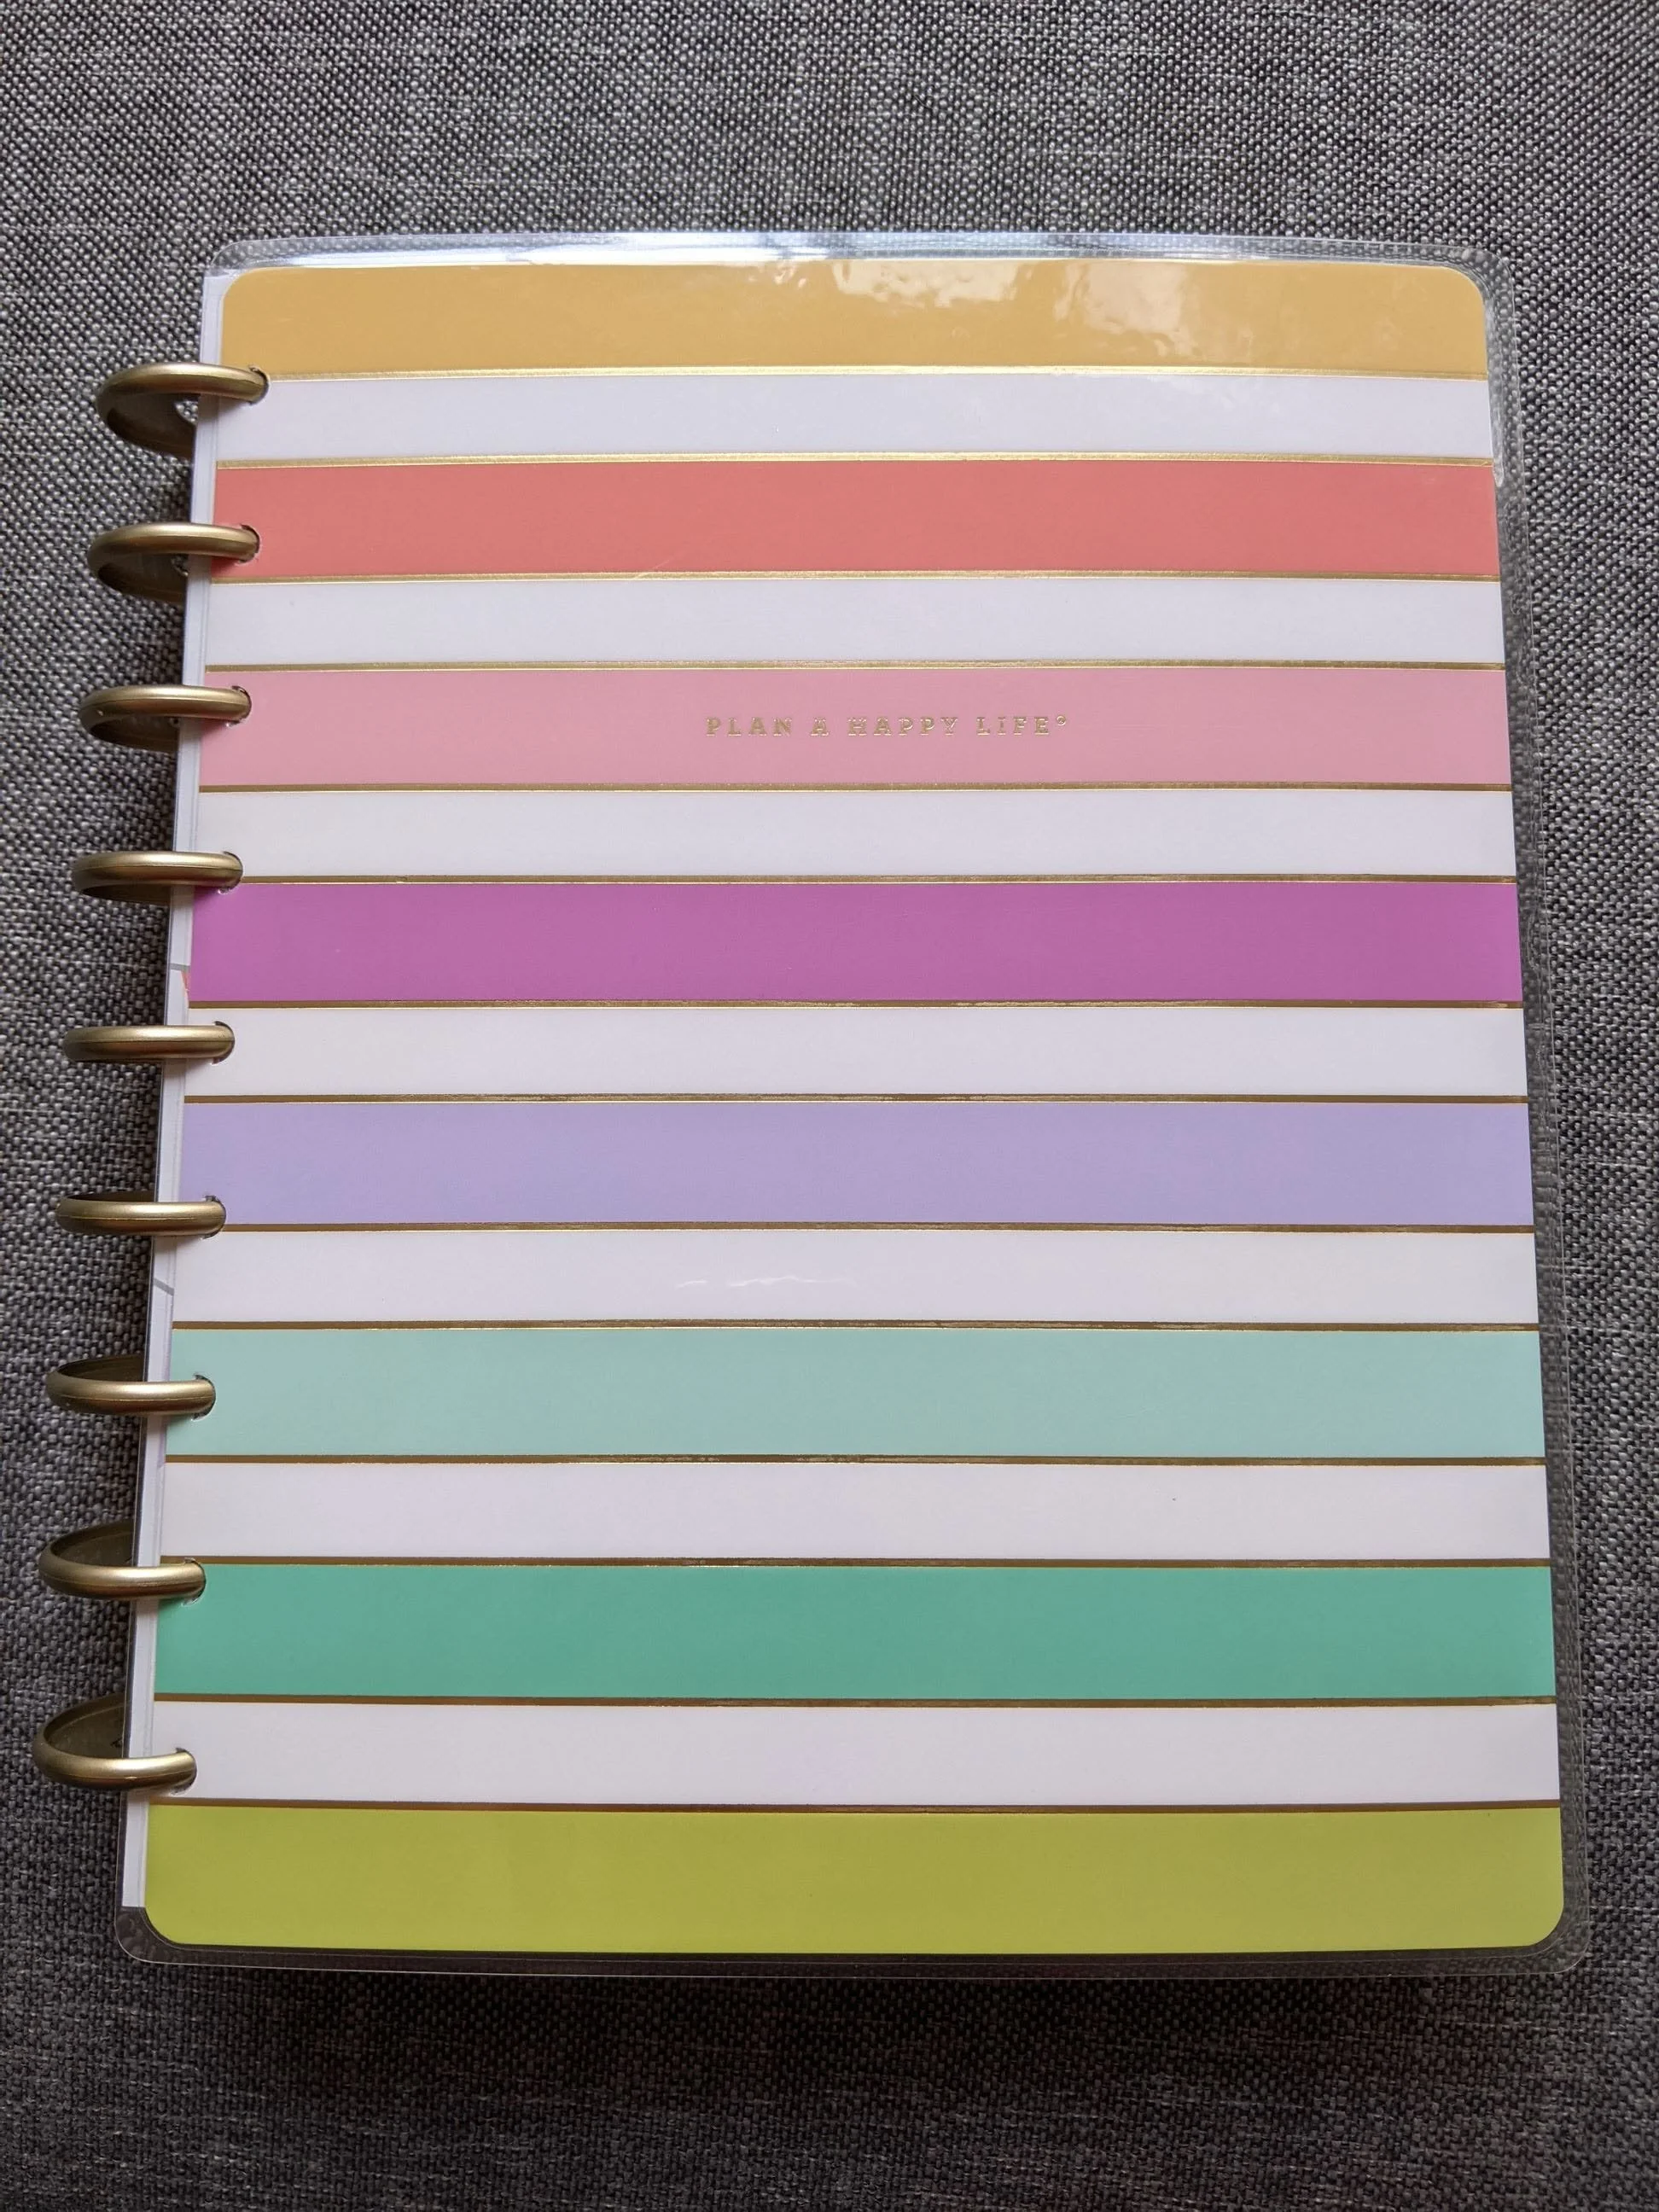
I’m trying again with a planner this year. Except this time, I’m focusing on design todos, the very occasional event, and STICKERS. The planner is from The Happy Planner (this is not a sponsored mention, but I’m A-OK with it becoming one…), which I like because there aren’t a ton of extra pages. That said, I think I would look for something with a horizontal day layout rather than a vertical one for next time, just because I don’t like my tasks taking multiple lines.
I really enjoy collage, with a “more is more” emphasis, so here’s what I’ve done to the planner so far…

The January-in-review and February-planning pages from the Maker’s Yearbook, which I added into my Happy Planner.
First, I added a ton more pages from the Maker’s Yearbook, which has an amazing series of last-year-in-review and plans-for-this-year questions/prompts. There are also monthly planning pages and month-end review pages that I will use to be a bit more proactive about, uhhh, this business I’m trying to build up. It actually worked out great - the Yearbook would have cost a ton in shipping, plus I would have had two planners to deal with, so I ended up getting a PDF version. Now I only have to print out the unique pages, do a not-insignificant amount of fussy cutting to put binder holes in them, and stick ’em in my planner!
For the weekly pages, I’m filling up each page, first with my actual todos, but then with stickers, coloring, and knitting ephemera. For example, I finished the Lamina Wrap in early January, and since I print out my patterns, I cut out the pic of the shawl in the pattern and pasted it into my planner. That same week, I was working on a design sample, and felt inspired to take some of my yarn leftovers and sew them onto the page.

The week of January 10, where I've added some random stickers and coloring in preparation for filling in my todos
My honest review of the Happy Planner stickers is that there are some colorful plain ones that I love, and others that are a bit too “live, laugh, love” for my sarcastic tastes. That said, I’m going for “fullness” on each page, so I’m loading this shit up with stickers, even the silly ones! I like this style of planner more than a totally blank notebook, simply because I don’t want to get hung up on creating a beautiful “spread” before I can start noting my tasks. This way, I start with a nice and neat setup and can jump right into the stickering and coloring on top!

The back cover pocket, stuffed with stickers
One last upgrade: I added a pocket at the back. There’s currently no pockets at all, but I need a place stash stickers and random papers. I cut a piece of scrapbooking paper to fit and taped it to the back cover. Now all I need to do is find my paper clip stash so I can clip in appointment cards and such.