general musings

Even Stevens challenge "halfway" mark

My Even Stevens Challenge printable worksheet on my desk, bracketed by a lacy shawl, 3 balls of yarn, and a cup of coffee.

Would this have been great to post in July? It sure would have! But I’m getting to it now and that’s just as good.

Plus, it kind of works out in my favor because I happened to do a bit of destashing in September and October, so now I can include that in my overall totals and everything looks VERY nice. (Of course, the stash deficit will be obliterated once all the various holiday and countdown yarn packages start arriving…just let me enjoy this for now!) Missing a few calculations, I’m currently at a deficit of about 1600 grams.

Just to reiterate - the goal of this challenge was to at least break even at the end of the year. So even though I’m celebrating stashing down, if I had at least maintained at the same level, that would be great too! (That said, since I anticipate some incoming yarn at the end of the year, I’m only in a deficit at the moment and may not stay that way!)

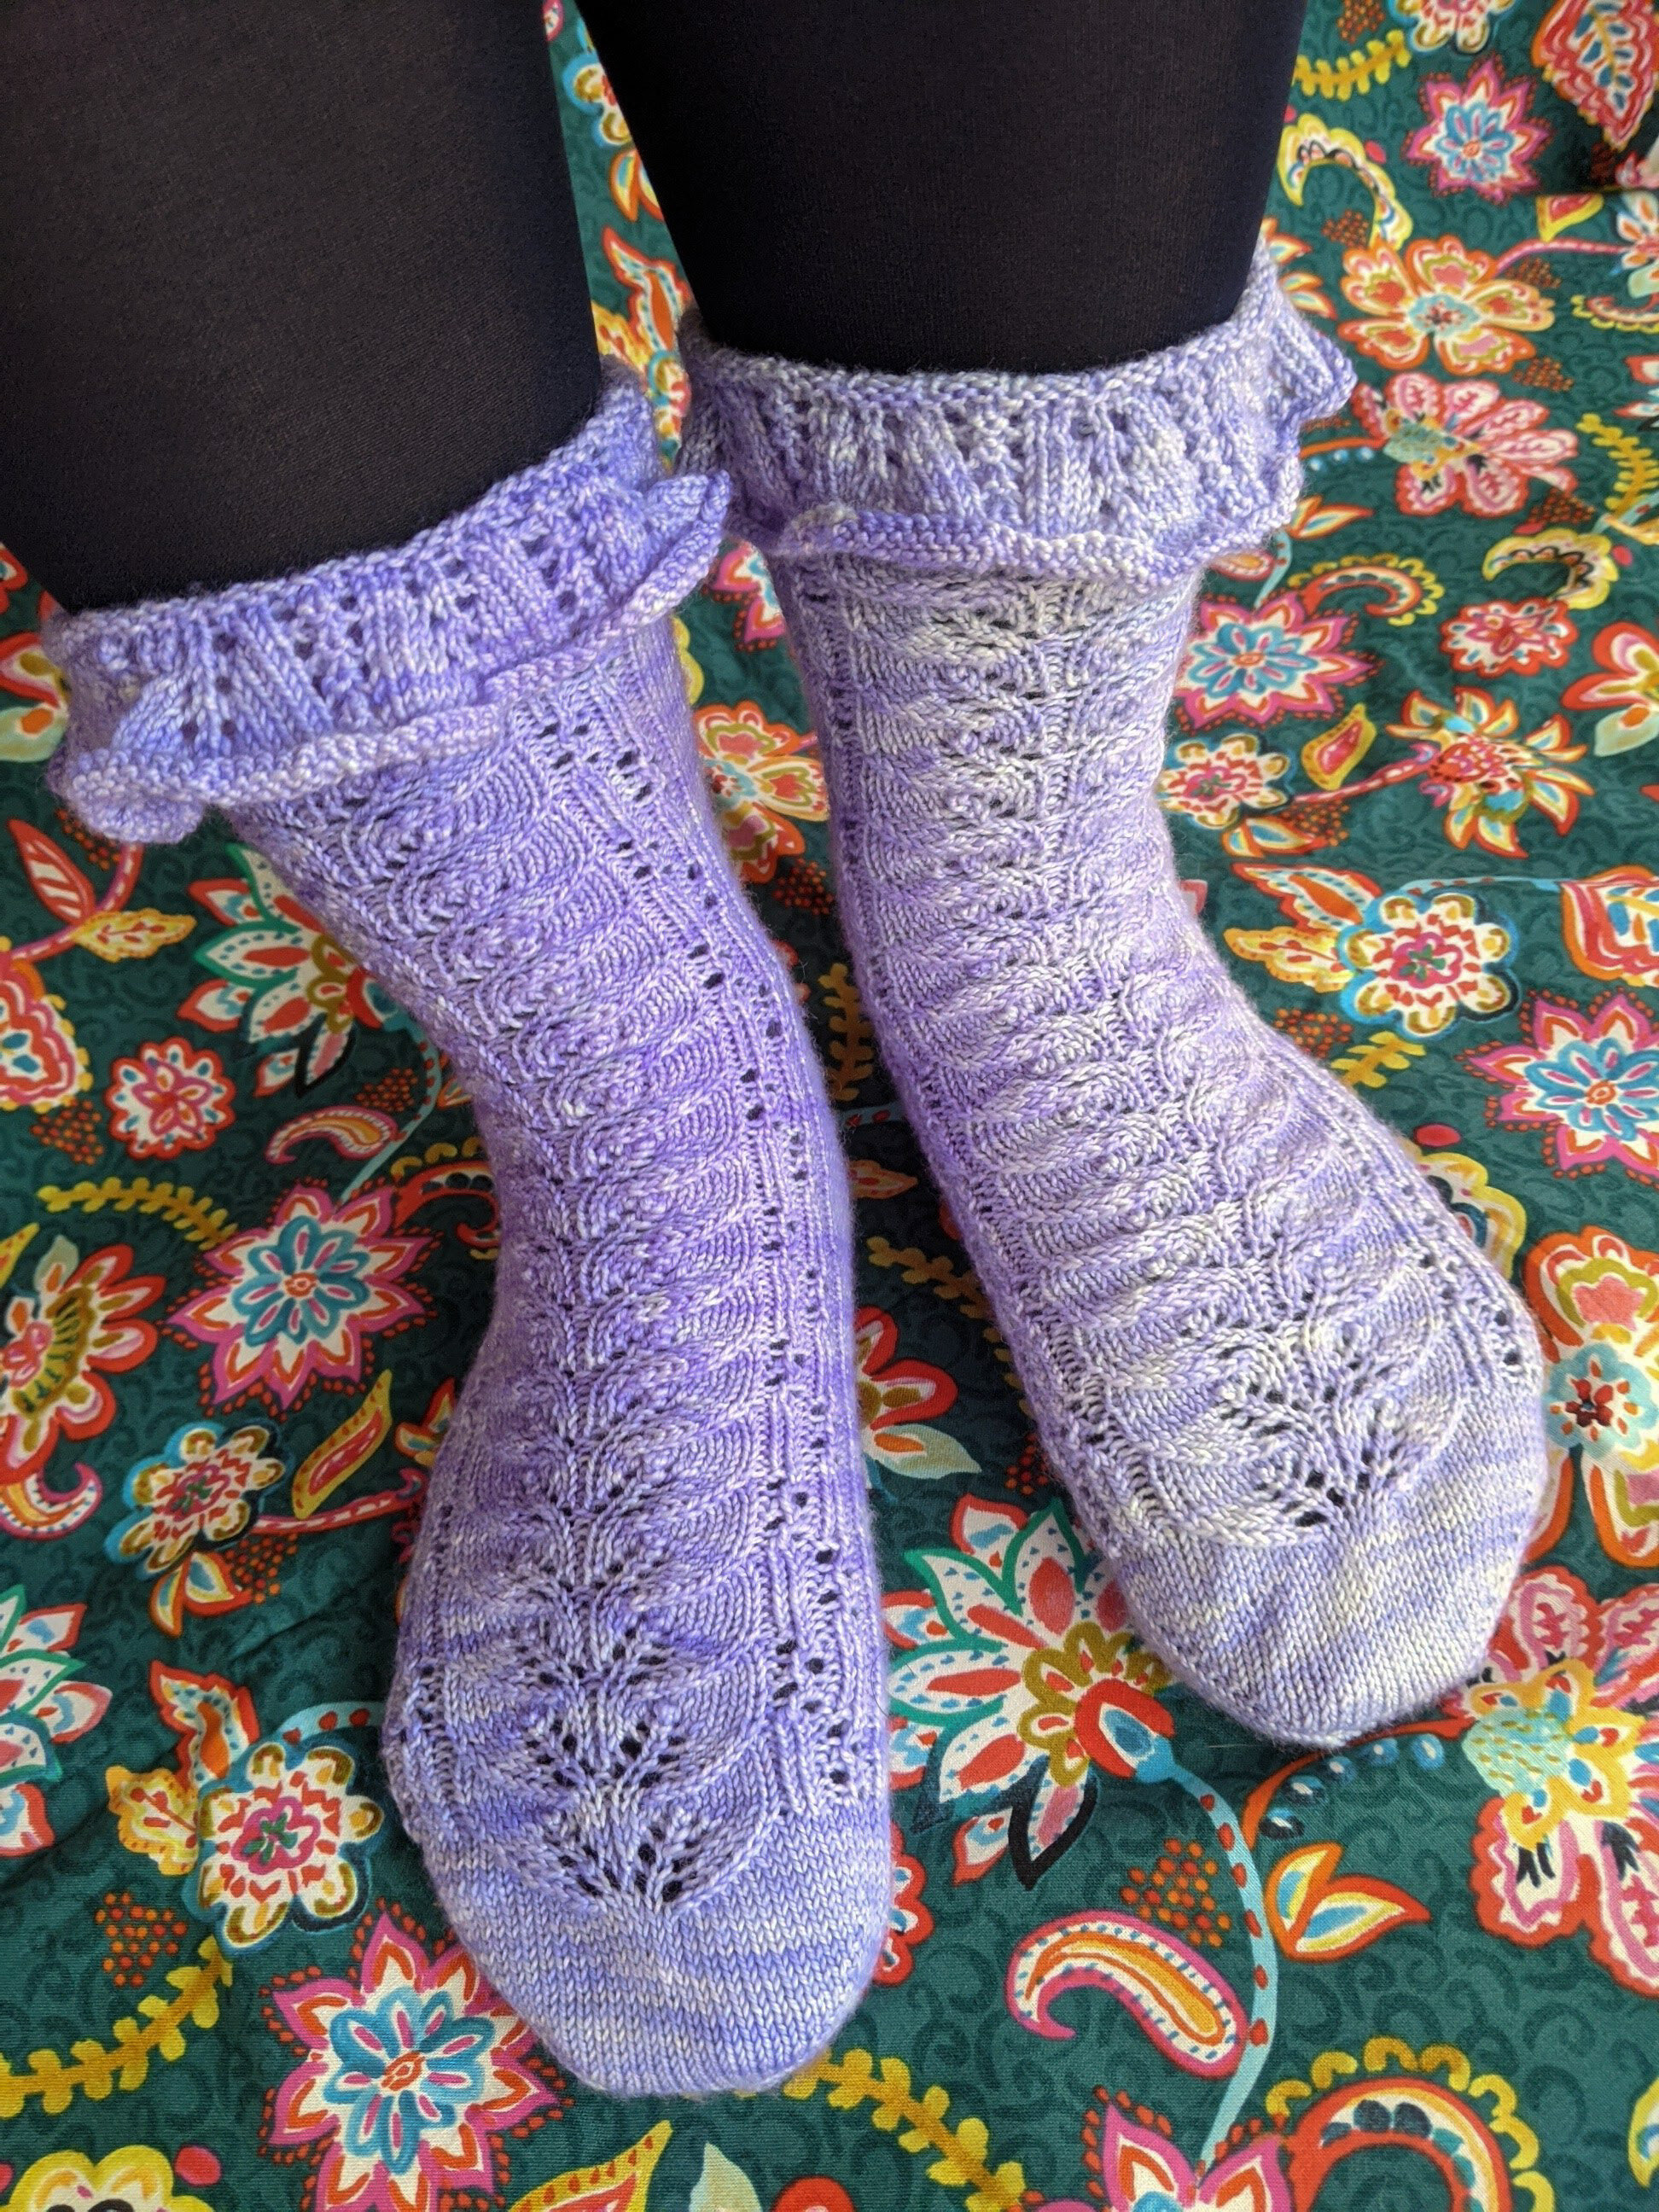
Perhaps one of the biggest lessons learned so far is just being aware of my knitting output so I can slow down on input! Especially now that I’ve got a better sense of what kind of things I like to knit and wear I’m less likely to buy a bunch of random weights/amounts of yarn, but I still fall prey to the sock yarn clause. That works great when I’m knitting a lot of socks (and other fingering-weight items), but less so when I’m in a no-knitting funk!

I’m really pleased with my progress so far and I look forward to concluding the 2022 report at the end of December! If you’ve been participating in the challenge, let me know how it’s going in comments.

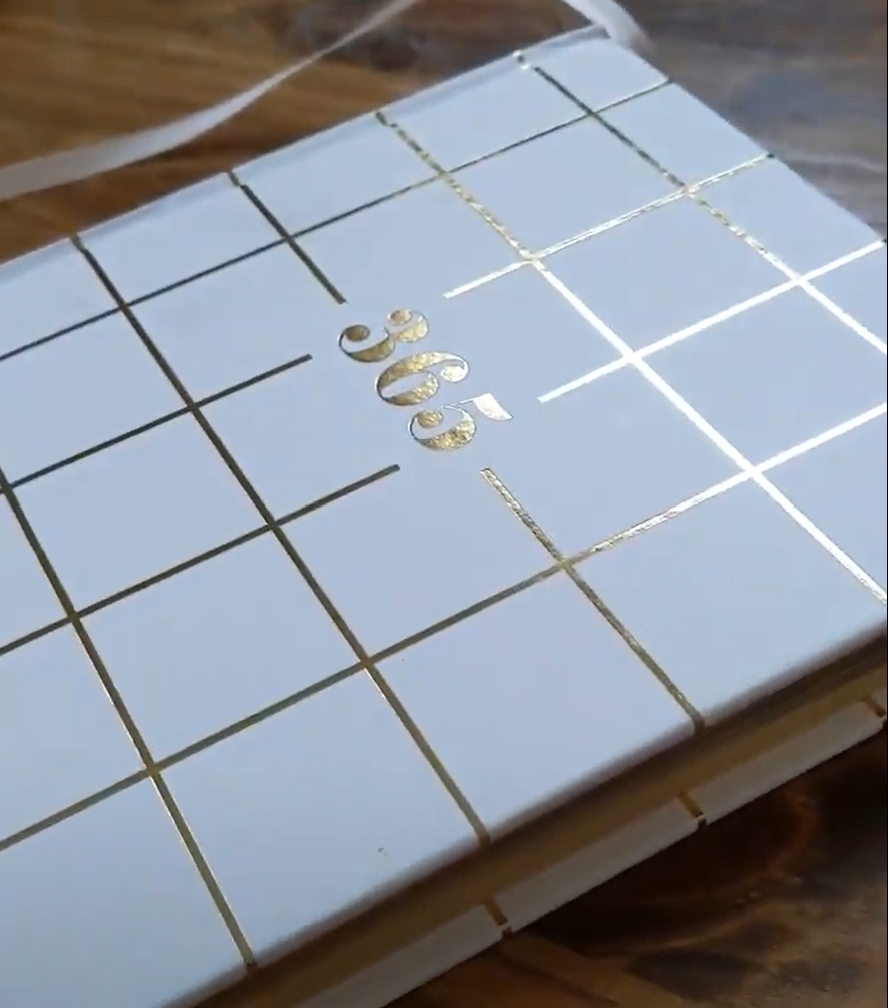
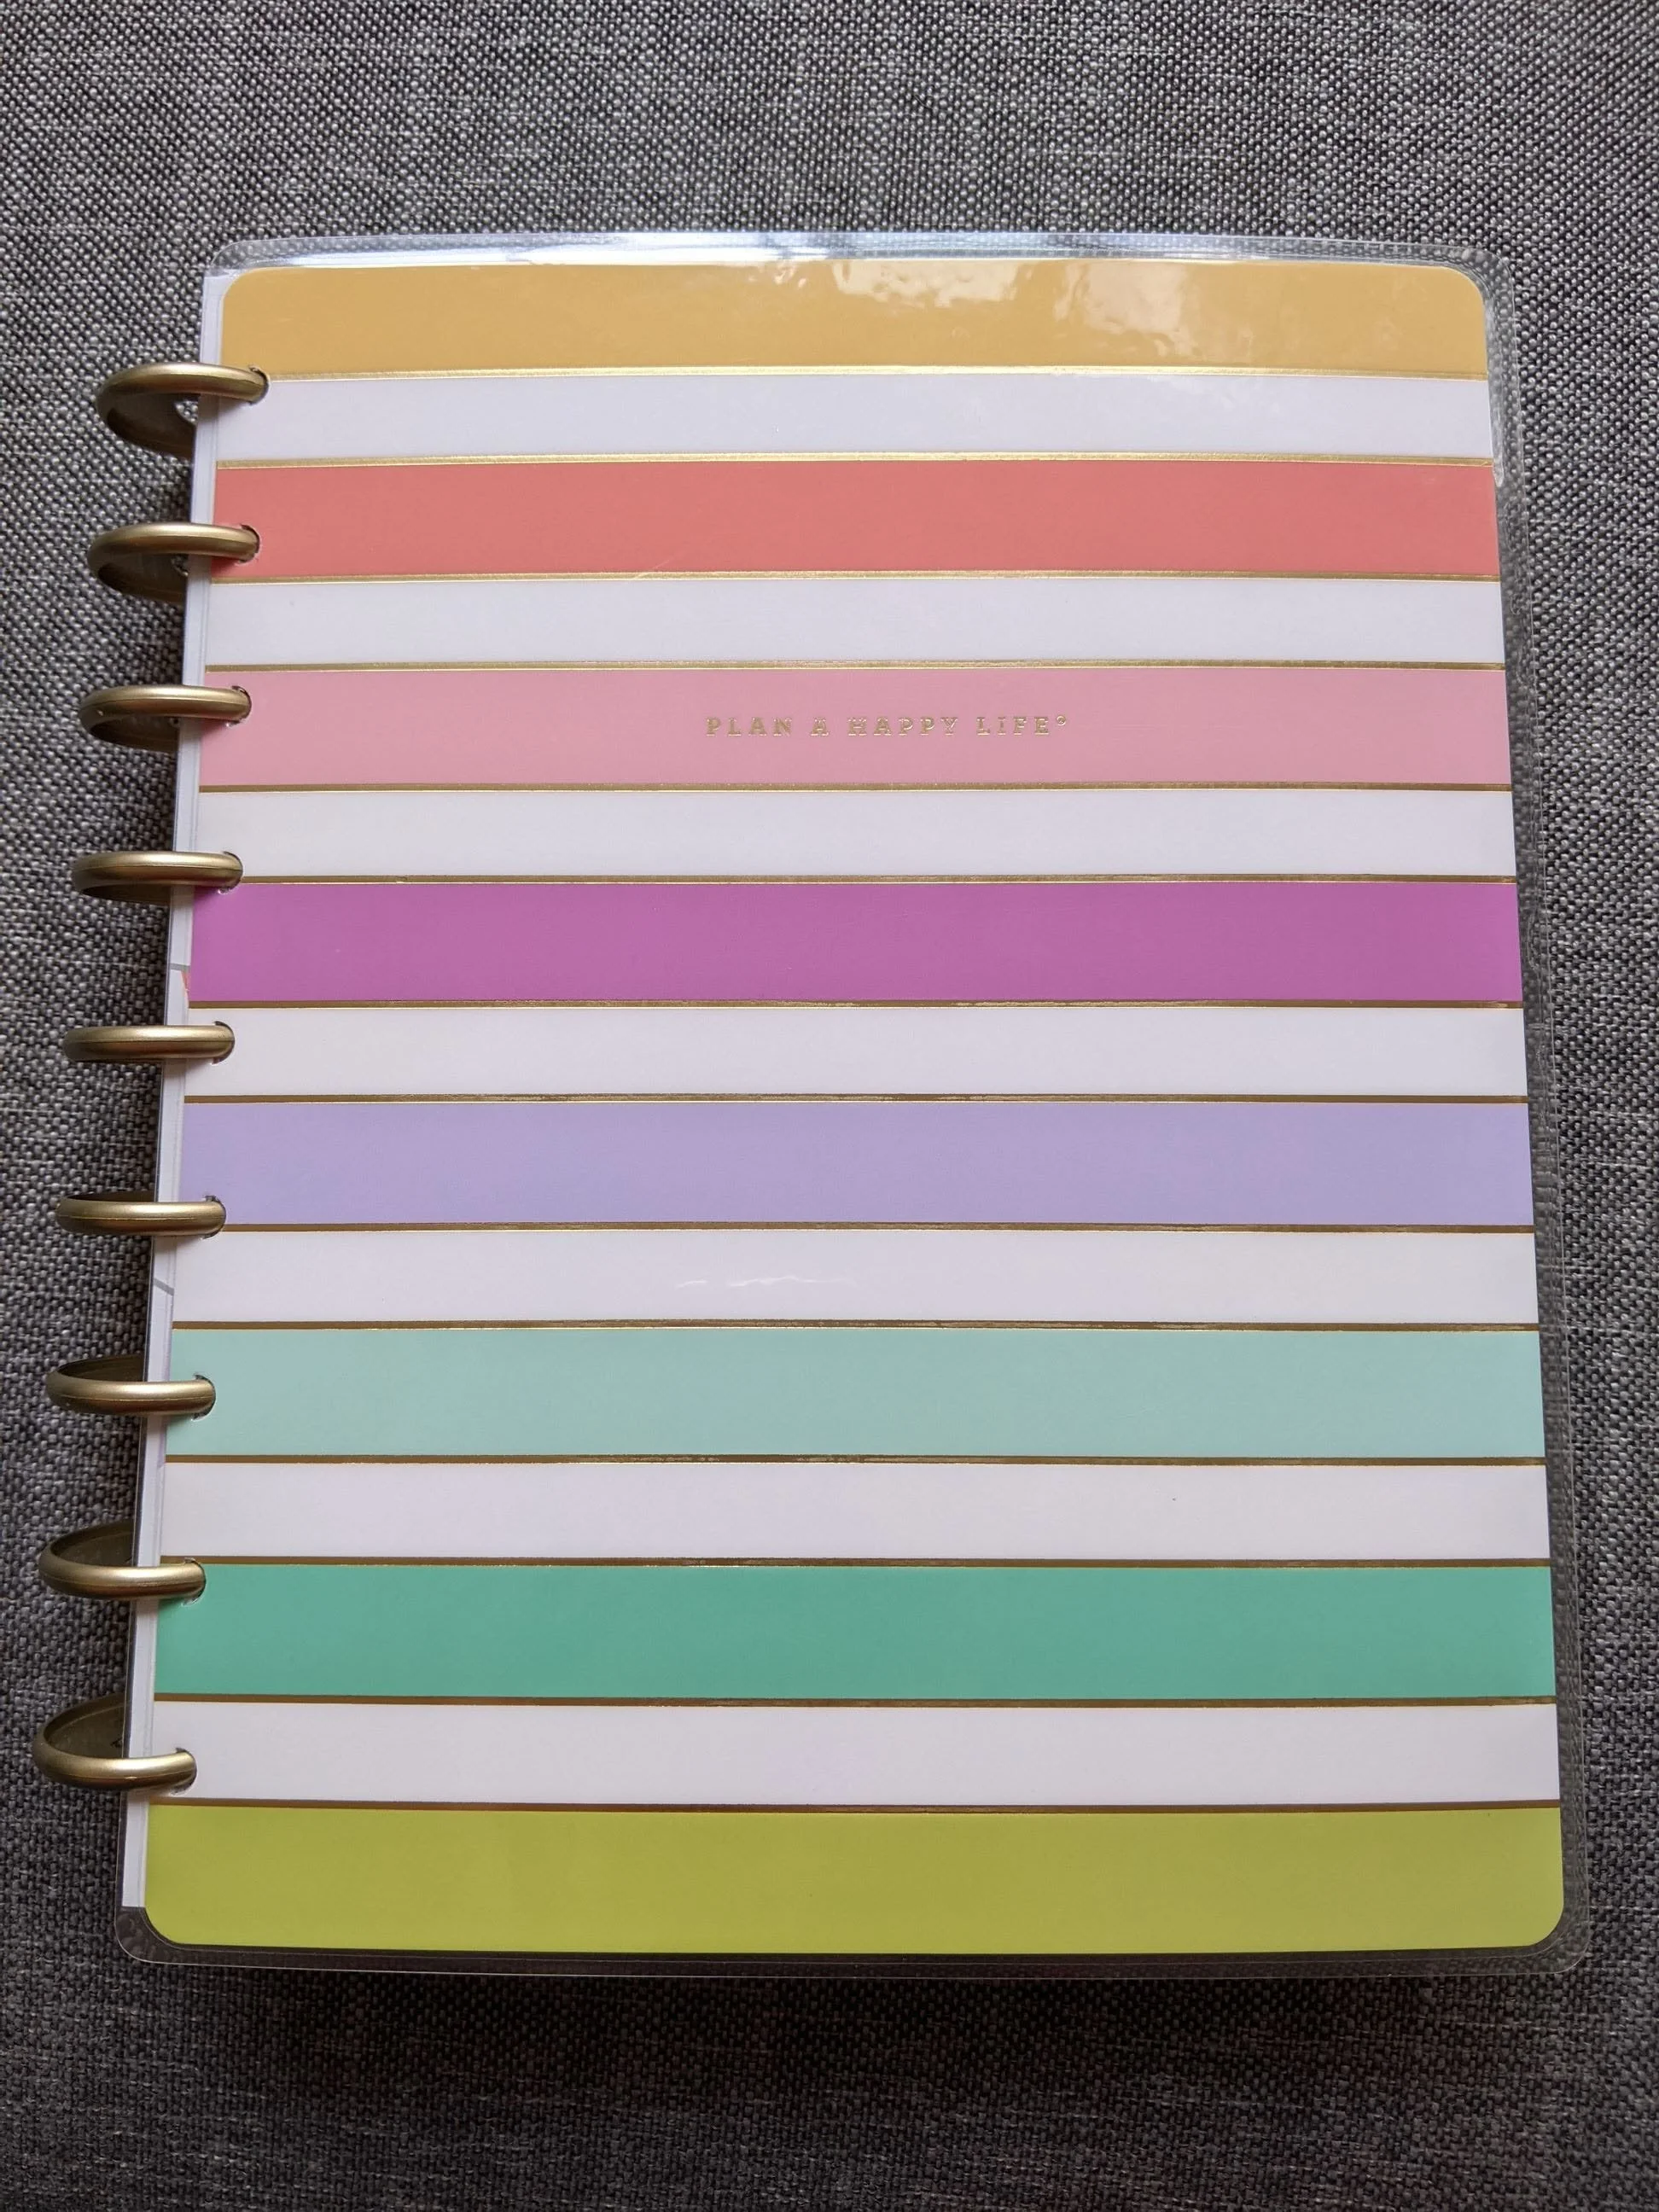
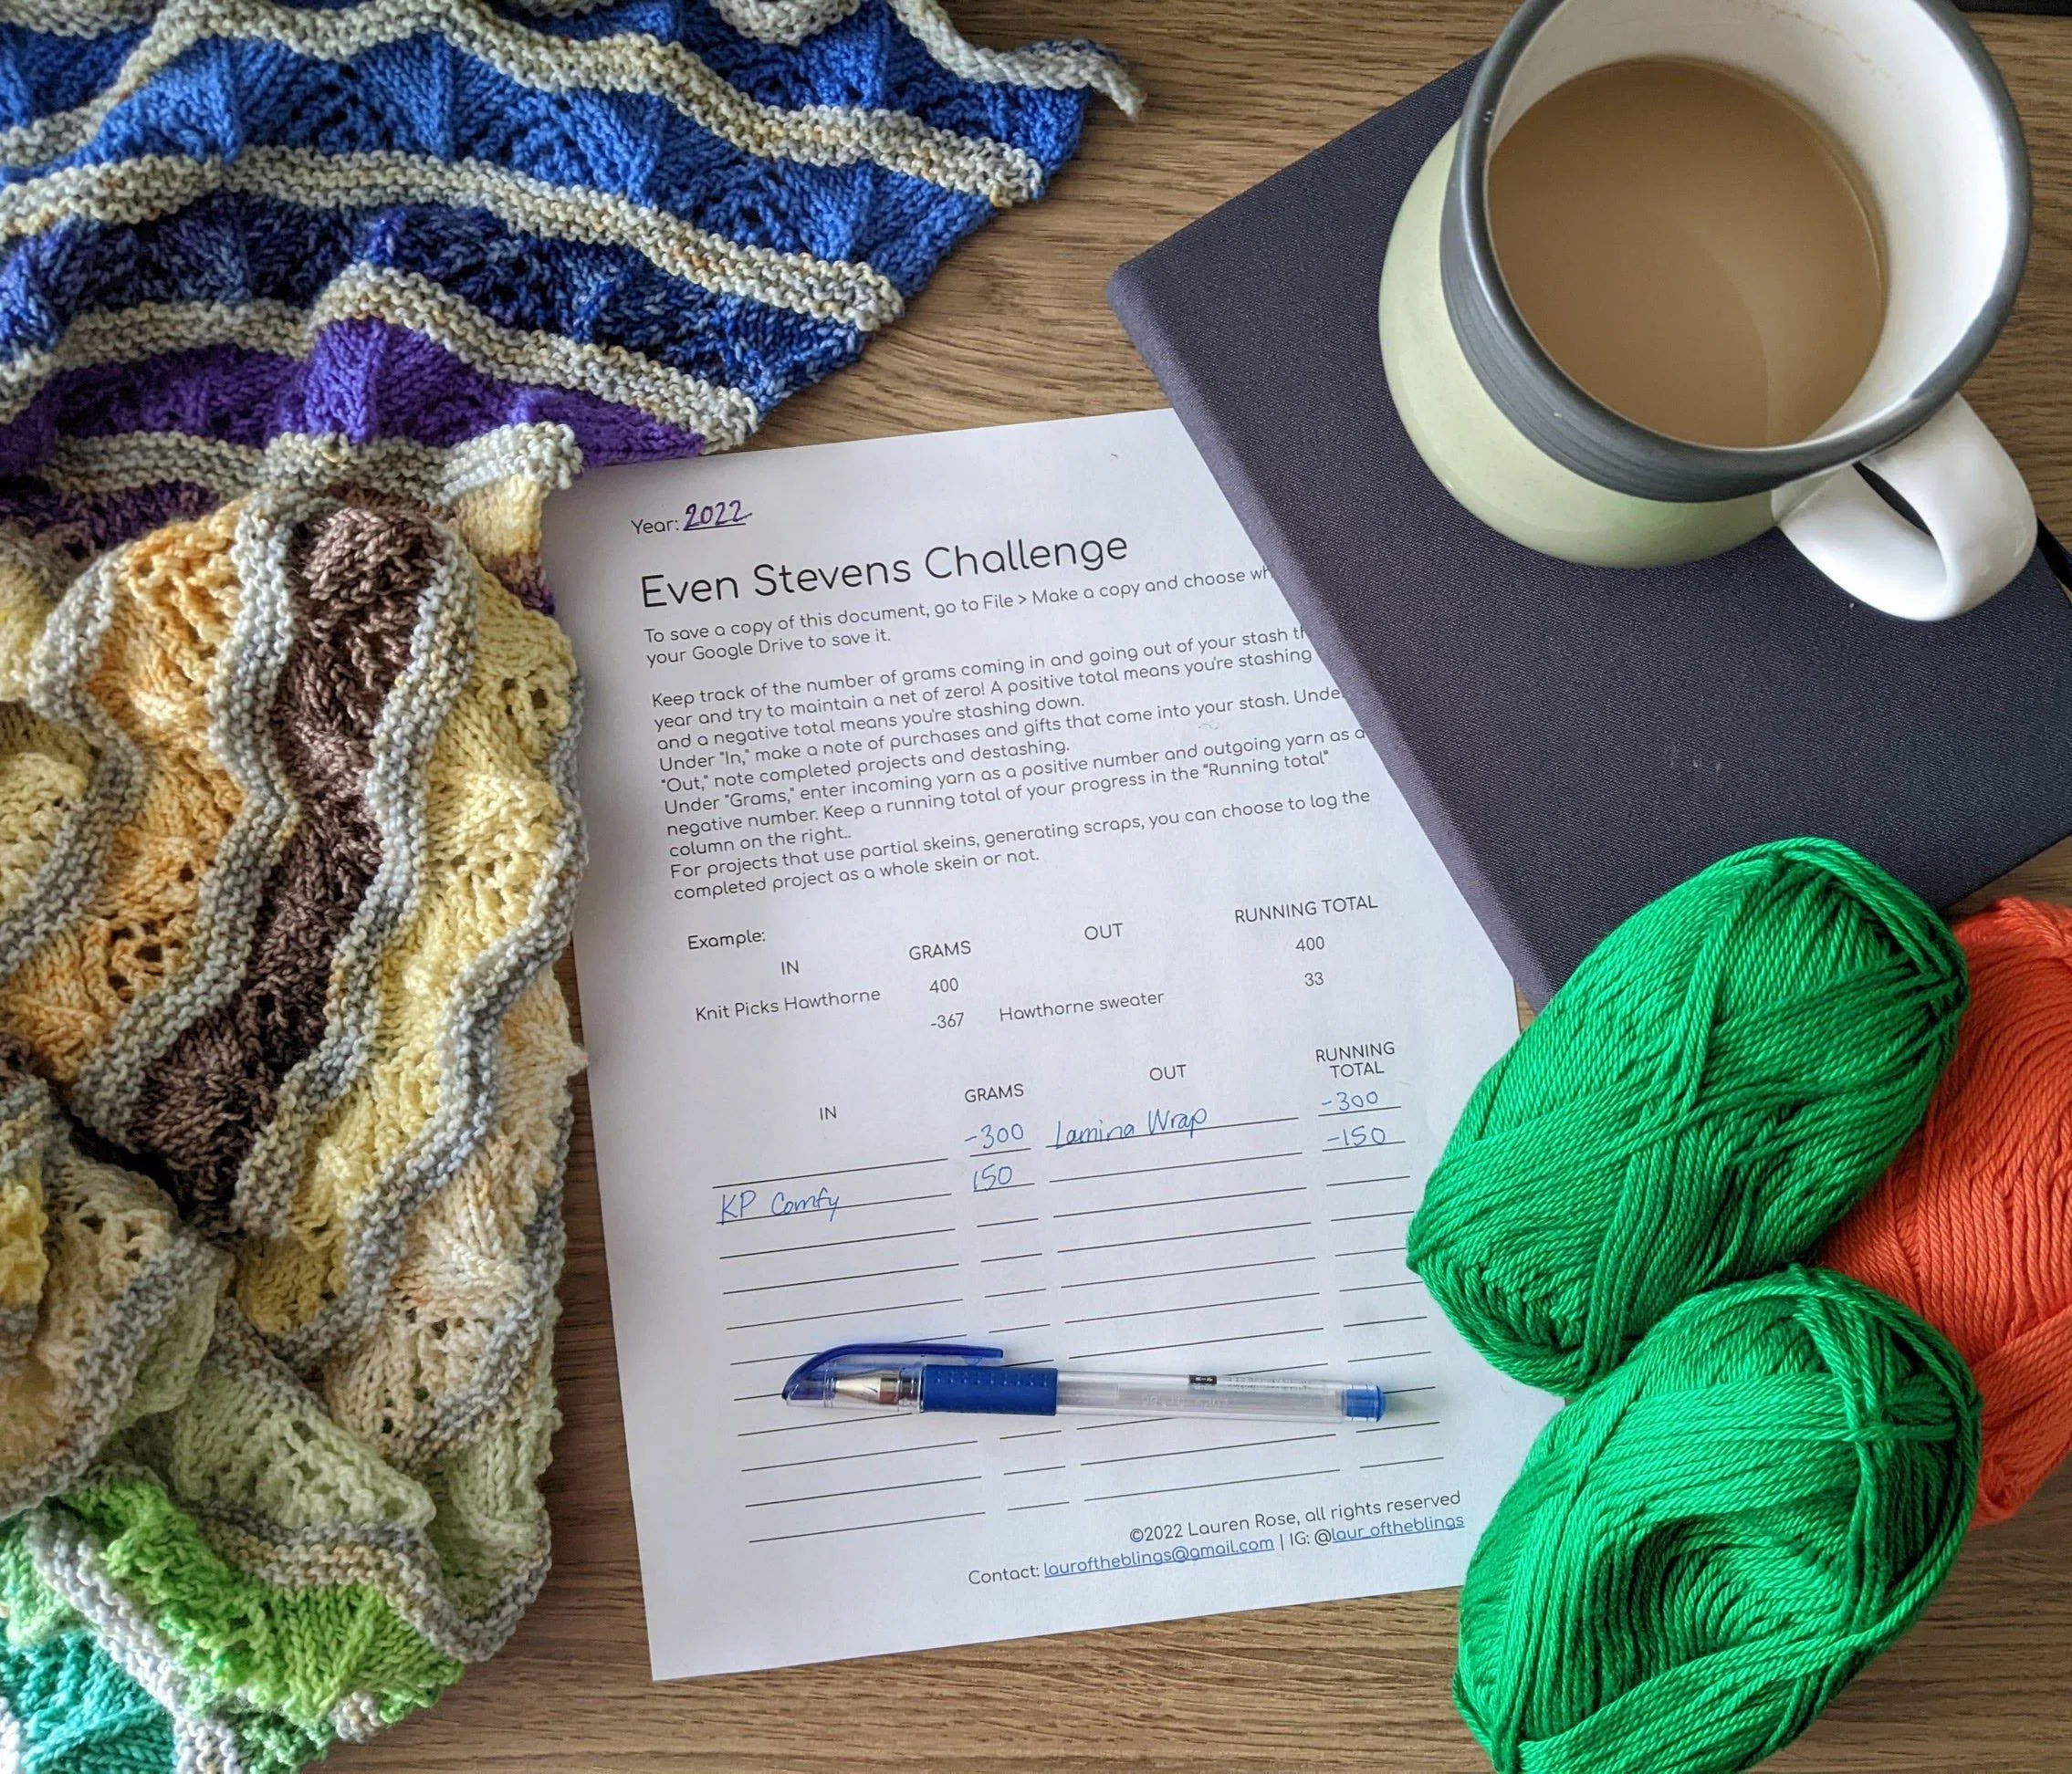
If you have no idea what I’m talking about, here’s a link to the original post. It’s never too late to get hype about spreadsheets and data tracking!

Back from a break

I had a nice, if unintentional, break from knitting, designing, and social media generally. I wish I hadn’t, in the sense that I wish I could be on all the time, but it might be time to accept that my energy levels come in 6-month waves, and I should probably start making plans for another similar “vacation” in about 6 months!

What did I do while away? Honestly…mostly stress about the US slip-slip-slipping further into a wh*te supremacist nightmare and then avoid said stress by playing video games. Stress can also make me slip back into bad eating-disordery thought patterns, which I don’t love, but I have an OK handle on that. I’ve had a pair of Alba socks on the needles for over 2 months, and was FINALLY able to push through and get the second sock bound off yesterday, so that’s the entire extent of my knitting during my downtime.

To be honest, it was hard to get myself back into the designing mindset simply because I don’t think I have a good handle on it yet. I love coming up with ideas and making them real, but get hung up on the selling part. It requires expenditure (paying for tech editing, for example) and marketing (endless social media posts, blog posts, emails), which require both regular effort to create and maintain, and emotional effort to react to. I have a tendency to go all-or-nothing on endeavors, so I get frustrated when a pattern isn’t an instant success and sometimes wonder, why can’t this business totally replace my day job already?? This isn’t a fish for compliments, by the way, just an explanation for why I get stuck between enjoying the publishing journey and feeling like a failure for not being a knitting millionaire. (If that statement made you laugh, trust me, me too lol)

What am I working on now? Well, I unexpectedly found myself waiting in the car for 3 hours while my partner had retina surgery, so I have a shawl for waiting in the works. Super Sock Scarefest has started to build their schedule for 2022, so I’ve got a fun pattern in the works for that. I have another sock design I was hoping to get out during Pride month that, uh, did not go out during Pride month, but that doesn’t mean we can’t celebrate it later in the year!

I have other stuff on deck that I enjoyed looking at in my brainstorming notebook, but to avoid overloading myself I’ll hold onto those for another day (or month).

The header image for this post is a lovely-smelling rose bush I got in an attempt to make myself take care of the yard again. So far it’s still alive!

December/January knitting

December 2021 was the second annual Fasten Off Yarnalong! I didn’t get as many projects done as I would have liked, but this year I finished Wrapezoid by Shanalines Designs.

I'm showing off a hand-knit sleeveless cardigan in teal, blue, and purple

I'm showing off a hand-knit sleeveless cardigan in teal, blue, and purple and making a silly face

Hilariously, it’s something I bought during last year’s yarnalong, but didn’t get around to knitting because I couldn’t decide on what yarn to use. This year, despite getting some new patterns, I ended up knitting this simply because I finally decided to crack into a 6-skein jewel-tone set from Sunshine Yarns.

I split up the yardage for my size, intending to work all 6 skeins into the FO, but didn’t quiiiite get to the 6th skein. I don’t begrudge the given estimates being generous (I do that myself, just in case), but I wish I had thought to split up the yarns slightly differently.

Maybe because the colors were in a color gradient, I initially didn’t plan to stripe the colors into each other. Of course, immediately after doing that I realized that it really needed to happen. So, I did a whole thing to cut out a section and redo it, this time with striping. It made a huge difference! One hot tip: if striping in new colors in garter stitch, join the new color on the wrong side! It blends the colors on the RS garter ridges and makes the color transition look even smoother.

I have a hand-knit lace shawl in many colors draped around my shoulders

I have a hand-knit lace shawl in many colors draped around my shoulders.

My other December knitting was Lamina Wrap by Ambah O’Brien. I’ve had the pattern for ages and always intended to use it with an Advent kit. What luck that this year Ambah officially added it to her Holiday KAL lineup! For this one, I broke into a 2020 Advent kit I got from Love & Speckles. The colors are all based on gemstones, with the 25th color serving as the metal “setting” for the gems.

The lace pattern was easy enough, which is nice because although I can do lace, I don’t always want to hurt my head trying to remember a complicated pattern or stitch.

Unfortunately, I didn’t manage to finish it by the end of the month, mostly because I was redoing the Double-up Hat for like the 5th time trying to get the sizing just right. You’d think a creation of garter and stockinette would have been easier to finalize, but I had to do a few iterations to get the length of the brim and the gauge (which affects the stretchiness) juuust right.

I managed to finish Lamina Wrap early in January, which made Cake very happy as she apparently needed a signed invitation to lounge in front of the fireplace.

I'm wearing a hand-knit striped sweater in reds and yellows and giving a thumbs up

I'm wearing a hand-knit striped sweater in reds and yellows and giving a thumbs up

I also finished my THIRD and ultimately imperfect iteration of a raglan sweater I’ve been working on. This is a pattern I want to make with the Sizing With Spreadsheets method. Hilariously, I haven’t even gotten to the spreadsheet troubleshooting (in that I’m still only using my personal measurements and not looking for testers with different shapes and proportions yet). I’m still figuring out nuances like “how much extra to add to my neck circumference to get the huge and luxurious neckline I want” and “where should I have the knitter measure in order to get a raglan line that isn’t ridiculously long.” It’s coming along, but slowly. And every failure makes me want to work on it more, though I feel like I really should take a break instead. Onward!

I’ll save you reading more about the Double-up set by directing you to the entire blog post about the subject!

2021 Designs

Totally forgot to make this round-up earlier, but I think it’s appropriate to look back on what I achieved in 2021 and appreciate it, especially if I feel down about any designs in progress this year! It’s never a bad idea to hype yourself up :)


Two feet modeling hand-knit socks in lavender yarn. A lacy pattern adorns the instep, and there is a lacy ruffled cuff at the top.

Two feet modeling hand-knit socks in lavender yarn. A lacy pattern adorns the instep, and there is a lacy ruffled cuff at the top.

Rogelio

Hilariously, this sock is so not my style. But I really wanted to keep the Jane the Virgin series going (not to worry, I do still have further plans for this, though I’ve slowed down slightly) and had to get Rogelio just right. For me, that meant the lacy ruffle cuff was a must - even though my test knitters all opted to skip it! This might have been one case of focusing too much on my artistic vision over what knitters actually wanted.


Two hats in gray, with textured stripes in red and yellow, respectively. The texture pattern is the same, but the hats are knit in 2 different weights of yarn.

Two hats in gray, with textured stripes in red and yellow, respectively. The texture pattern is the same, but the hats are knit in 2 different weights of yarn.

Little Bits Beanie (free size)

This is a pattern I really enjoyed from 2020, remade with a calculator customized to your yarn weight, gauge, and head size. It was basically a test drive of the Sizing With Spreadsheets method, and it worked great!


Two feet modeling colorwork socks in red and black. The cuff fades down the leg from black to red at the heel, then back to black by the toes. There’s a spooky hand motif in black on the instep.

Two feet modeling colorwork socks in red and black. The cuff fades down the leg from black to red at the heel, then back to black by the toes. There’s a spooky hand motif in black on the instep.


Fear Street

Another offering for the Scarefest! Inspired by the Netflix series of the same name (which was in turn inspired by a book series). The series was pretty gory, but somehow I managed to get through all three movies. Compared to Black Flame Candle, I feel like this particular design doesn’t take my breath away, but I still love it as a solid colorwork pattern.


Light Breaks

My first, but not last, pattern with KnitCircus yarns. This one was rough, mostly because it took me a few tries to get the shawl math right. Then, I had to mess with the striping sequence to ensure that enough MC and CC were used up evenly and it turned out large enough. This was really a lesson in patience and perseverance. I was so frustrated during the ripping/reknitting, but ultimately I’m thrilled with the final product.

I’m holding up a large half-pi shawl worked in a peach-pink-purple gradient striped with white. Slipped stitches create colored rays on the right side.


I’m wearing a thick, textured cowl knit in multicolored stripes. Matching fringe hangs off the bottom.

I’m wearing a thick, textured cowl knit in multicolored stripes. Matching fringe hangs off the bottom.

Double-up Cowl

This was a long time coming - I had been hoarding the DK weight advent kit for a year waiting for the perfect inspiration to strike. And I think it did! Obviously, it features my all-time favorite provisional cast-on + 3-needle bind-off methods, and has an easy knit/slip-stitch texture to keep you engaged while knitting. Ultimately, whether the texture is visible in the finished project, depending on the yarn used, is irrelevant - the point is to entertain me while knitting!


Looking at how many patterns I put out last year compared to 2020 is surprising, in that it was way fewer! Ultimately, I’m not sad about it, partially because my productivity was directly related to my mental health, which was not in the best place last year thanks to the big C, and also because the neverending rat race of constant-publishing isn’t how I want my business to be!

2022 plannering

Despite my love of digital tools, I can never, ever give up my paper planner. To be perfectly honest, I often note things in my digital todo list and also in my paper planner, mostly so I can enjoy checking them off in 2 places. But I’ve settled on a more-or-less sustainable journal/planner routine and figured I’d share, since I know there are lots of planner/bujo enthusiasts out there!

A white journal with "365" in gold foil in the center

My 365 journal

Last year, I got a planner assuming we would be back to normal and I’d be writing all manner of activities in it. That…completely did not happen! Instead, I ended up getting a blank 365 notebook from kikki.k and started a 5-year journal. (It looks like they don’t sell them anymore, which is incredibly sad.)

I’ve seen some 5-year journals that have daily prompts/questions so you can reflect on the same topic over a 5 year period, but inevitably some of the sample prompts seem too silly to me, so I figured a blank book would be more my style. I’m happy to say that although there were some points where I got behind and had to catch up, I successfully wrote something for EVERY SINGLE DAY, 365 days in a row! Now I’m looking forward to reflecting on where I was last year while I record where I’m at this year :)

A spiral-bound notebook with rainbow stripes on the cover and gold text that says "Plan a happy life"

My 2022 planner

I’m trying again with a planner this year. Except this time, I’m focusing on design todos, the very occasional event, and STICKERS. The planner is from The Happy Planner (this is not a sponsored mention, but I’m A-OK with it becoming one…), which I like because there aren’t a ton of extra pages. That said, I think I would look for something with a horizontal day layout rather than a vertical one for next time, just because I don’t like my tasks taking multiple lines.

I really enjoy collage, with a “more is more” emphasis, so here’s what I’ve done to the planner so far…

The January-in-review and February-planning pages from the Maker’s Yearbook, which I added into my Happy Planner.

The January-in-review and February-planning pages from the Maker’s Yearbook, which I added into my Happy Planner.

First, I added a ton more pages from the Maker’s Yearbook, which has an amazing series of last-year-in-review and plans-for-this-year questions/prompts. There are also monthly planning pages and month-end review pages that I will use to be a bit more proactive about, uhhh, this business I’m trying to build up. It actually worked out great - the Yearbook would have cost a ton in shipping, plus I would have had two planners to deal with, so I ended up getting a PDF version. Now I only have to print out the unique pages, do a not-insignificant amount of fussy cutting to put binder holes in them, and stick ’em in my planner!

For the weekly pages, I’m filling up each page, first with my actual todos, but then with stickers, coloring, and knitting ephemera. For example, I finished the Lamina Wrap in early January, and since I print out my patterns, I cut out the pic of the shawl in the pattern and pasted it into my planner. That same week, I was working on a design sample, and felt inspired to take some of my yarn leftovers and sew them onto the page.

The week of January 10, where I've added some random stickers and coloring in preparation for filling in my todos

The week of January 10, where I've added some random stickers and coloring in preparation for filling in my todos

My honest review of the Happy Planner stickers is that there are some colorful plain ones that I love, and others that are a bit too “live, laugh, love” for my sarcastic tastes. That said, I’m going for “fullness” on each page, so I’m loading this shit up with stickers, even the silly ones! I like this style of planner more than a totally blank notebook, simply because I don’t want to get hung up on creating a beautiful “spread” before I can start noting my tasks. This way, I start with a nice and neat setup and can jump right into the stickering and coloring on top!

A piece of pink paper taped to the lower half of the back cover. In the pocket are a few sticker sheets.

The back cover pocket, stuffed with stickers

One last upgrade: I added a pocket at the back. There’s currently no pockets at all, but I need a place stash stickers and random papers. I cut a piece of scrapbooking paper to fit and taped it to the back cover. Now all I need to do is find my paper clip stash so I can clip in appointment cards and such.

Sock hacks

I’ve been designing a lot of socks lately and I sometimes have to stop myself from going off on a dissertation-length tangent about different ways you can modify your socks for better fit. There’s nothing wrong with including pro-tips here and there in patterns, but when you’re (well, I’m) adding paragraphs and paragraphs it starts to get beyond the scope of the pattern!

So instead I’ll share some noodling I’ve had here.

First is calf-shaping - depending on the stitch pattern, you can add calf-shaping to just about any sock. I won’t say ALL because I’m sure there’s something out there with an incredibly intricate pattern that would need a lot of massaging to make extra stitches and decreases work, but I think most patterns would allow this.

I regret not specifying this more clearly in earlier sock patterns I wrote with calf-shaping, but all extra stitches should be added to the back of the leg, rather than splitting the total stitch count evenly across instep/back of leg. This is more of an issue in cuff-down socks than toe-up, because it affects the stitch count coming into the heel section. (In toe-up, you will have already worked the heel by the time you’re adding increases for calf-shaping, so you only need to worry about centering any motifs on the back of the leg with additional stitches in the mix.)

Two hand-knit socks in light gray yarn, worked in reverse stockinette with a pattern in stockinette that looks like spooky fingers grabbing the leg. The sock on the right is in the middle of the heel flap

Two hand-knit socks in light gray yarn, worked in reverse stockinette with a pattern in stockinette that looks like spooky fingers grabbing the leg. The sock on the right is in the middle of the heel flap

So if you’re knitting a cuff-down sock and want to cast on 78 stitches and decrease to 72 at the heel, you should split the stitches into 36 instep stitches and 42 back of leg stitches. That’s 6 extra stitches on the back, which will be decreased in pairs, so 3 decreases on the way to the heel and you’ll be ready to work the 72-st size heel across 34 sts as written. This means the patterning will be centered on the front and back of the sock, and you won’t need to rearrange stitches between the instep/back of leg sections before working the heel.

Next, heel flaps! The convention is to work as many rows in the flap as you have in the heel. So, a heel worked across 32 sts will be worked for 32 rows and create a nice little square. That…has never worked for me. Part of it is because my row gauge is really, really tight compared to most people, so I need to work way more rows to even get a square shape. Another part of it is even if I do get a nice square flap, that’s not actually enough length in the gusset to fit my foot!

I saw a tip…somewhere. Sock Madness? A Facebook sock knitting group? Recommending that you knit the heel flap as long as your thumb (from fingertip to the second/big knuckle). This will likely be somewhere between 2 and 3 inches. Since I’ve started doing that, my heel flap socks fit way better, and no longer get sucked underneath my foot!

If adding more rows, keep in mind you’ll need to pick up additional stitches for the gusset. For the most part, this just means you’ll keep knitting gusset decreases for longer than called for in pattern. In some cases, there might be special patterning on the sole like colorwork or riverbed decreases (google “riverbed gusset” to see what I mean), but in general more gusset stitches won’t impact the pattern.

Related to this, don’t forget to pick up stitches in the gap between the end of the heel flap and the beginning of the instep! Most patterns call for at least 1, but 2 is fine too. You might even find that one side needs more stitches than the other and end up with 19 gusset stitches on the right compared to 18 on the left - also fine! For this I’ll sometimes work a double decrease on the side with more stitches on the first round of decreases to even things up (and so I don’t have to remember which side needs an extra decrease at the end of the gusset).

Since feet aren’t always exactly the same size as calves, remember that you can tailor the fit of a sock foot by decreasing on the sole. This maintains whatever pattern on the instep but allows for a snugger fit! When you get to the toe, you have a few options to even things up in preparation for grafting.

If you have 4 or more stitches extra on the instep, send some around to the sole. For example, with 34 sts on the instep and 30 on the sole, send 1 st on either side of the instep around to the sole. Now they’re split evenly into 32!

If you have just 2 sts extra, start toe decreases a little early and work increases ONLY on the instep. For example, with 32 instep and 30 sole sts, work a decrease round only on the instep, evening them up to 30 sts each.

These are the kinds of things you learn after knitting a bunch of socks and seeing how various constructions and stitch counts fit on your foot, but I hope this helps at least one person jump start their journey into custom sock modifications!

You don't have to get gauge

You don’t have to get gauge!!

Thanks to the pandemic, much of my at home time is now devoted to reading about all things knitting on all the various social channels I have. One thing I’ve noticed is a slate of posts lamenting an inability to get the specified gauge on a pattern. Another related-to-this-post topic is folks getting gauge but not liking the fabric they created.

Therein lies the key! It’s better to aim for a fabric you actually like, or one you can achieve, and see if you can work a different size of the pattern to compensate.

Caveat: I realize that this could be difficult depending on your size and the sizes available in the pattern. For that, I will continue to advocate for a wide range in sizes for knitwear design in general and provide that in my own patterns!

Example one: you swatch to get a gauge of 5 stitches per inch for a fingering weight sweater. But the yarn you’re using is on the lighter side, and 5 stitches per inch is airy enough that folks might get a show of what’s under your sweater instead of admiring your hand-knit FO! You’d prefer to knit closer to 6 stitches per inch to get a denser fabric.

There’s a good chance you can use the pattern you already have, but knit a different size that will give you the perfect combo of gauge + size. You can also use this technique on individual parts of patterns like sweater sleeves.

First, you’ll need to know your bust circumference + your desired ease.

Inches:

Let’s take a 40 inch bust + 2 inches of positive ease. 42 inches multiplied by 5 stitches per inch would give me 210 stitches at the widest part of the bust in the pattern gauge.

In my preferred gauge of 6 stitches per inch, 42 * 6 would give me 252 stitches. Find the section of the pattern where you have all the body stitches on the needle (that’s front + underarm + back + underarm, so make sure you find the part AFTER the sleeve separation and underarm cast-on!). Do any of the sizes have a body stitch count close to 252? That’s the size you want to knit!

Centimeters:

Same size but slightly different math. We’ll need to adjust the gauge calculation - it will be (6/2.5), giving us 2.4 stitches per cm.

100 cm bust + 5 cm of positive ease will be 105 cm, multiplied by 2.4 stitches per cm, giving us 252 stitches! Find a size with a body stitch count close to 252 and you’re ready to go.

In this example, because you have a tighter gauge than the pattern, you’ll end up knitting a larger size, but the reverse could also be true if you want to knit a looser gauge by knitting a smaller size!

Unfortunately, this method isn’t a silver bullet for accommodating differences in gauge - if you’re already knitting one of the largest sizes available in the pattern, it will be hard to use a tighter gauge to knit a larger size as those numbers may not be available in pattern. Similarly, if you’re knitting one of the smallest sizes, you may not be able to knit a looser gauge and a smaller size. In the same vein, you probably won’t be able to reimagine a pattern written for fingering weight in bulky weight, or vice versa.

Goals for 2021

Having had a surprisingly solid 2020, knitting-wise, I have a good idea of what I want to accomplish in my knitting and designing life this coming year.

Close-up of a dainty purple flower with a yellow center, growing low to the ground. In the background are more purple and pink flowers.

A big thing that’s been weighing on my mind is…a sweater pattern! I have SO. MANY. sweater pattern ideas, but the fear of presenting something not perfectly tailored to all sizes of test knitter is keeping me from…just doing it. After all, I have pretty decent reference info for measurements besides my own, and I have a great tech editor! Later this month I’m looking forward to learning the custom spreadsheet method that Swanky Emu Knits uses, and I feel like with that technique in my bag of tricks I’ll really be able to stir things up.

Another thing I want to challenge myself is submitting a design to a publication. A few things have held me back here - first is designing to a prompt rather than working with something already in my imagination. Another is adapting the pattern to a specific format - I spent a lot of time working on my own templates, abbreviations, and stock language, so having to change all that to suit a different format feels like a lot of extra work. Finally, I worry about submitting an idea I can’t actually deliver on. At least this one is an easy fix: I just need to do a bit more design work before the submission so I know it’s doable! Hopefully in 2021 I can overcome the other 2 hurdles.

I’m hoping to get back to my Jane the Virgin-inspired socks this year. Early last year I developed one that needed to go back to the drawing board before release, and I got a big win when I revisited it over the winter holiday and found it pretty easy to update and improve! One thing I’m waffling on is whether it’s worth it to go back and update Xiomara - as much as I ADORE the look of that pattern, it’s like 1000% more complicated than it probably needs to be. That said, it’s technically doable as-is. This will probably be on my mind for a while before I finally decide.

I got a lot of great experience establishing my templates and processes in 2020, so I hope to keep polishing those in 2021. My absolute favorite technology of 2020 is Todoist, which has helped me keep track of everything from cleaning the litterbox on a regular schedule to remembering to hit the “start” button for my Ravelry discount codes so they don’t sit uselessly inactive during a pattern launch. (True story!)

Finally, I want to add regular blogging back into my schedule! It’s something I did a ton in high school and through my 20s, but I wasn’t doing knitting OR designing back then and as such had a lot more free time. I kinda tried to force it this year, with so-so success (?) but hopefully with the benefit of my uber-schedules I can do it a little more regularly.

Wonder Walking

One of the things I’ve been doing this year while quarantining is taking lots of walks. I live near a quiet neighborhood, and as such I like to walk up and down the streets off the main traffic road to avoid traffic noise and other pedestrians. I spend a not-insignificant amount of time admiring the fancy ($$) houses and expansive yards, and my favorite thing to do is find small, magical things while out walking. It’s usually pretty flowers, but sometimes it’s an interesting pattern in the sidewalk, a cute animal, or delightful decorations (especially true during October!). I also love a good street couch.

Looking for weird and/or delightful things to take pictures of has always been a hobby of mine, but I recently encountered a term that describes it so perfectly, I won’t be able to think of it as anything else now! That’s “wonder walking,” and I encountered it while admiring Amy T Won’s art on her instagram. You can get her full description of the practice from her social media, but I hope the next time you take a walk, you keep an eye out for the miniscule and mundane!

I’ve put some recent pictures below. Left to my own devices, this would be an infinite scroll! If you want to see more, you can find my non-knitting photos at @darlingsan on instagram.

Make a helper foot for socks

How do you measure socks when knitting? I’ve seen lots of tutorials that involve simply putting on the sock WIP and measuring it against your actual foot and I’ve seen lots of photos of very nice “sock rulers” that can be bought but not necessarily customized to your actual foot.

I typically take my knitting with me on my commute, so pulling off my shoes in order to try on an in-progress sock is not an option for me. Instead of buying a generic sock ruler, I decided to make one exactly customized for me:

You’ll need:

  • sturdy cardboard or posterboard

  • a pen or marker

  • a helpful friend or decent flexibility

  • an actual ruler

  • scissors

Close-up of the heel part of the cardboard foot. Two dashed lines indicate 3” and 2.5” away from the end of the heel. A line at 2.75” is labeled “mini gusset.”

Now you can pull out your “foot” wherever you are and get a quick measurement! This works for both toe-up and cuff-down patterns, and also makes it easy to see the stitch pattern stretched out like it would be across the instep. If you make them for folks you frequently knit socks for, don’t forget to label them!

Do you have a foolproof method for measuring your socks? Tell me about it on comments!

A cardboard cutout of a foot placed next to a ruler. The ruler is being used to add measurement marks to the cardboard.

The steps:

First, place your dominant foot on the cardboard and put weight on it. Have a friend trace the shape of your foot onto the cardboard. Cut out the foot shape (it’s fine and probably preferable to make the toes rounded like a mitten rather than have a scalloped edge).

Take your ruler and draw a line down the center (long-ways, from toe to heel), then add in ruler measurements. I went ahead and added notations for measurements I typically see in sock patterns, such as where to begin a fleegle/strong heel gusset, mini-gusset, short-row heel, or toe decreases. (Your specifics may vary - use whatever makes sense for the size of your foot and the types of sock patterns you normally knit!) I also added a measurement for ribbing on the arch of my foot. If you have modifications you find yourself making time after time, throw them on there!

Close-up of the toe of the cardboard foot. A dashed line indicates 1.5” from the end of the toe.
The finished helper foot displayed on a green lined backdrop. In addition to the measurement lines on the heel and toe, there’s a vertical line at the arch of the foot labeled “ribbing” and the letters “LRA” written along the blade of the foot.